Simple Kitchen Tile Backsplash Installation
I think tiling gets a high difficulty rating because those who haven’t done it find it daunting. But backsplash tiling can actually be quick and relatively inexpensive, once you break down the installation steps and obtain the proper tools.
Subway Tile in the New Kitchen
The backsplash for the majority of the kitchen is simple white subway tile with a very light gray grout. I love that it is classic and clean! Who realized that Chad and I would actually fight about the way to install it??
Yeah. Lining the tiles up were never an option, but I’ve always hated when subways are lined up at the half… something about the dotted lines of grout maybe? Anyway. I found a pin that explained the ‘proper’ way to install subway tile at 1/3 and used it to make my case. In the end, I don’t think it made installation any more difficult and it’s so much more restful to my eyes.
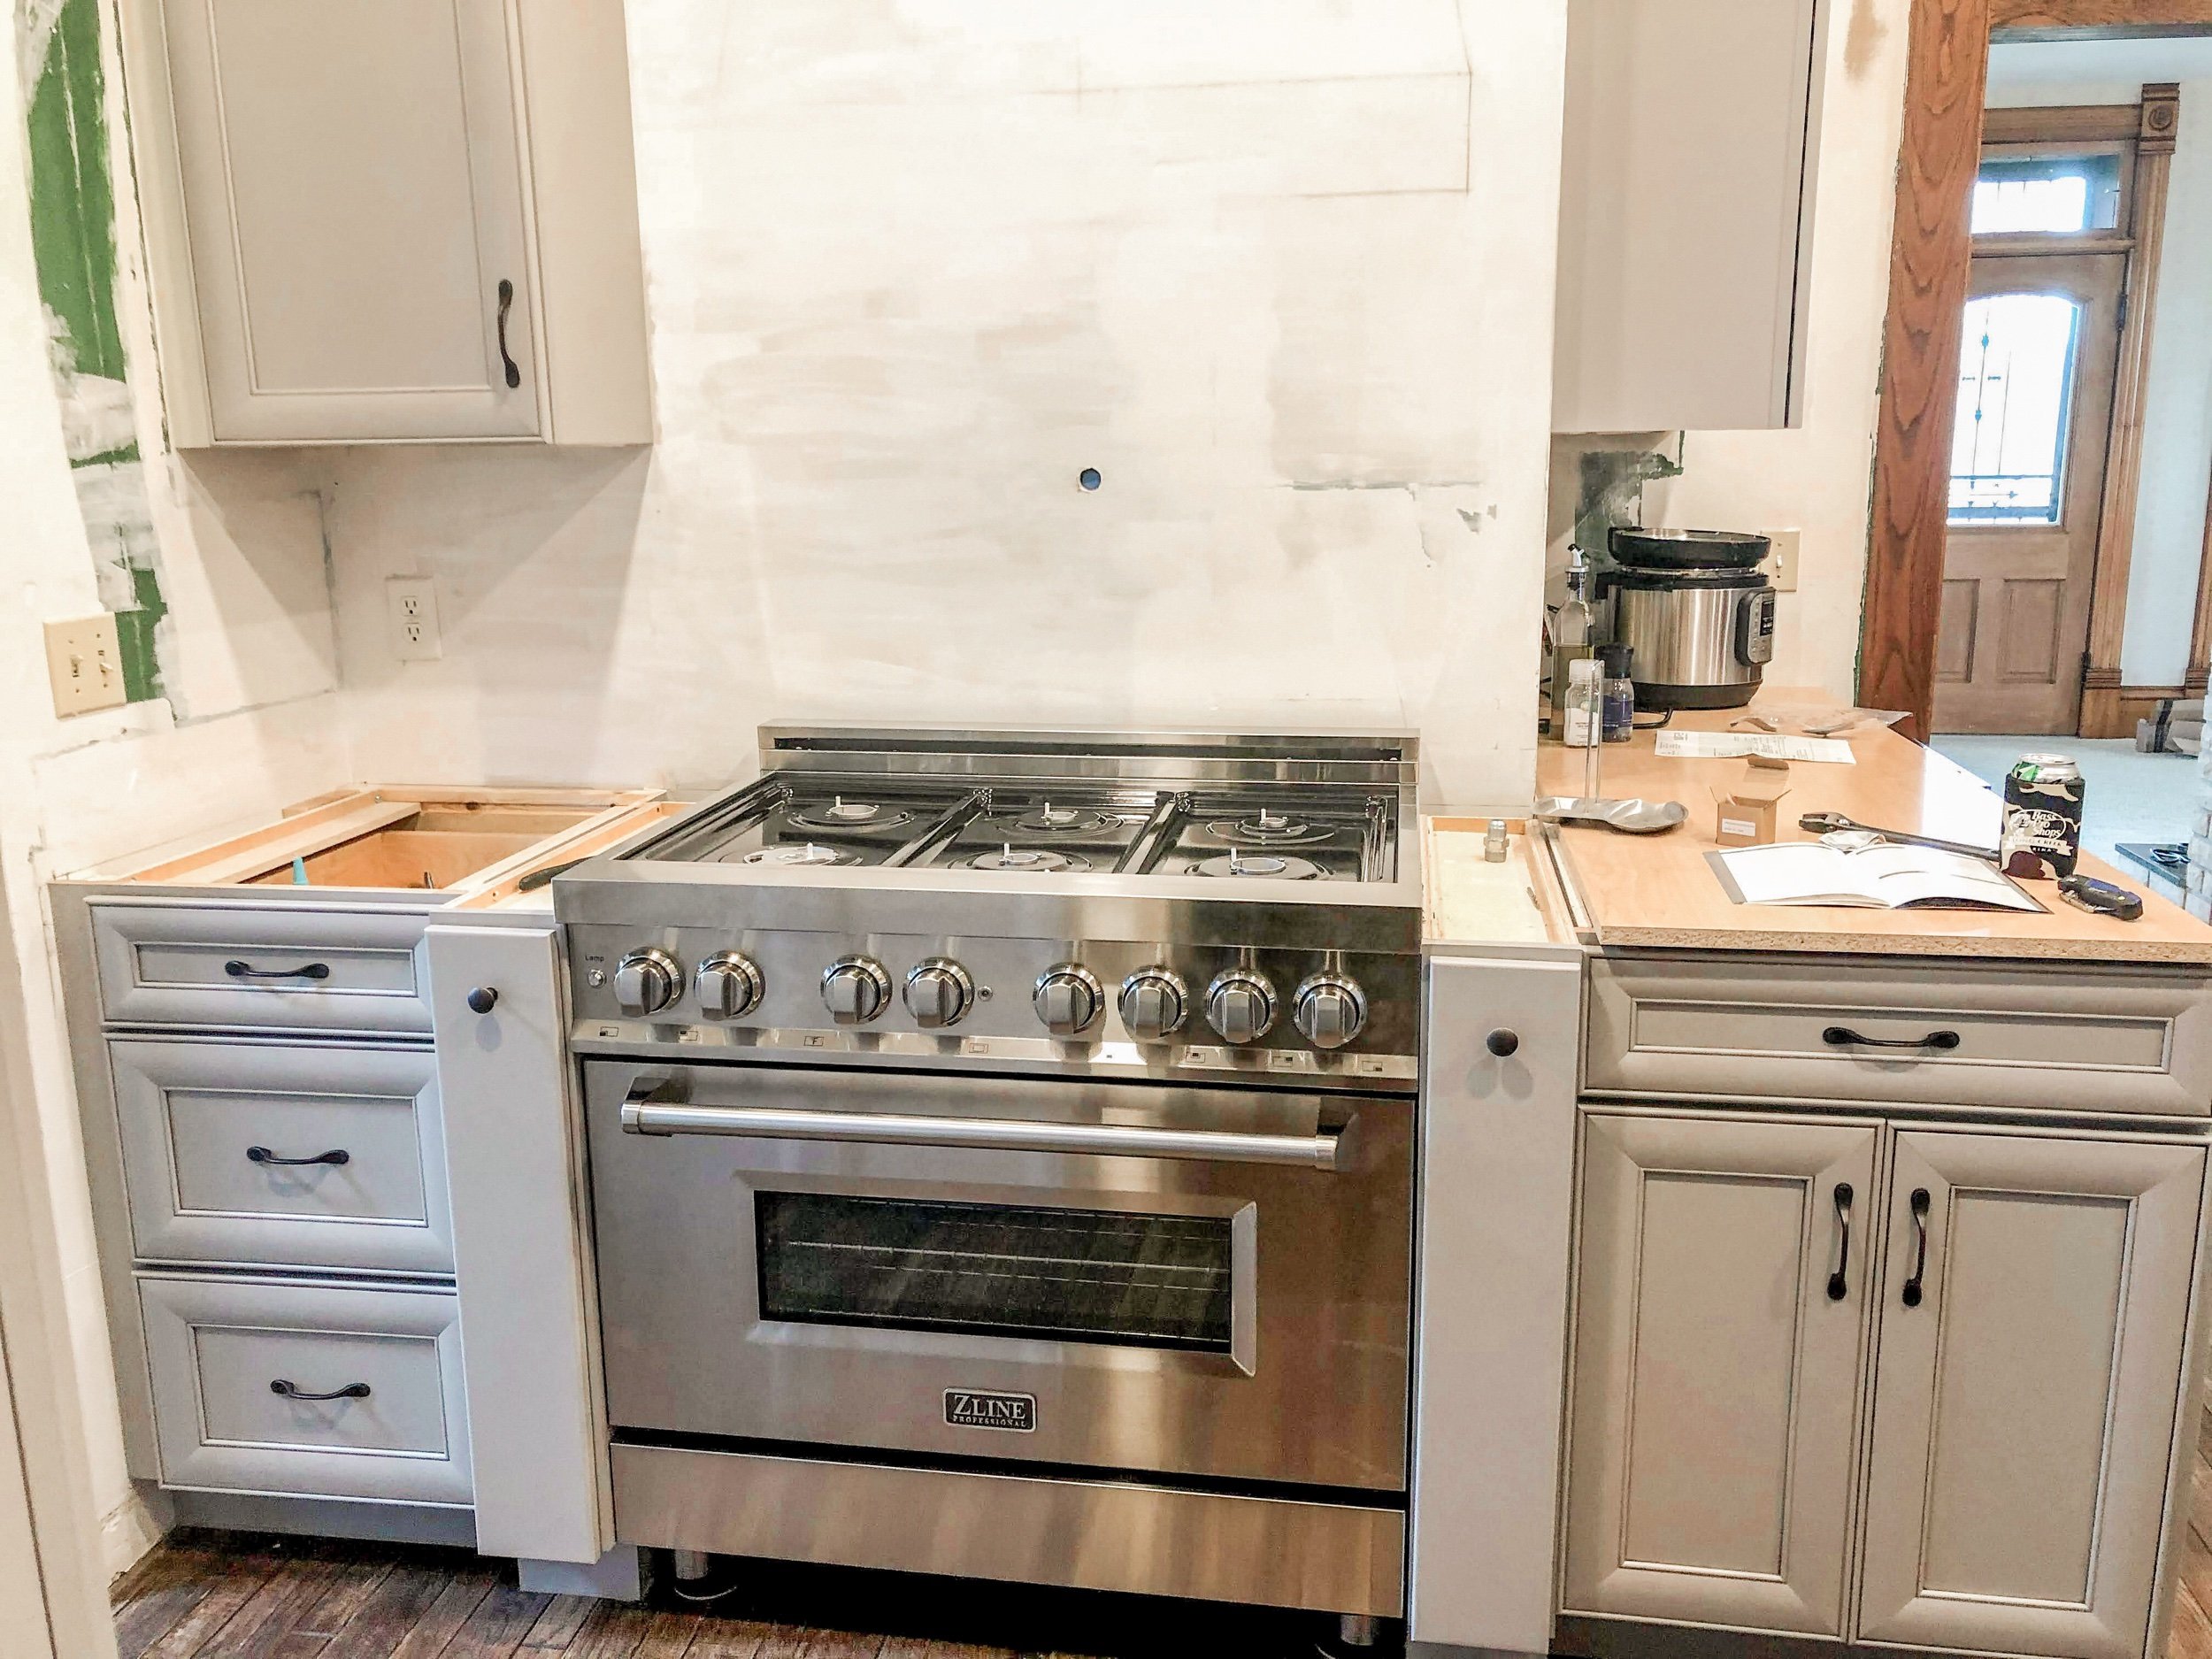
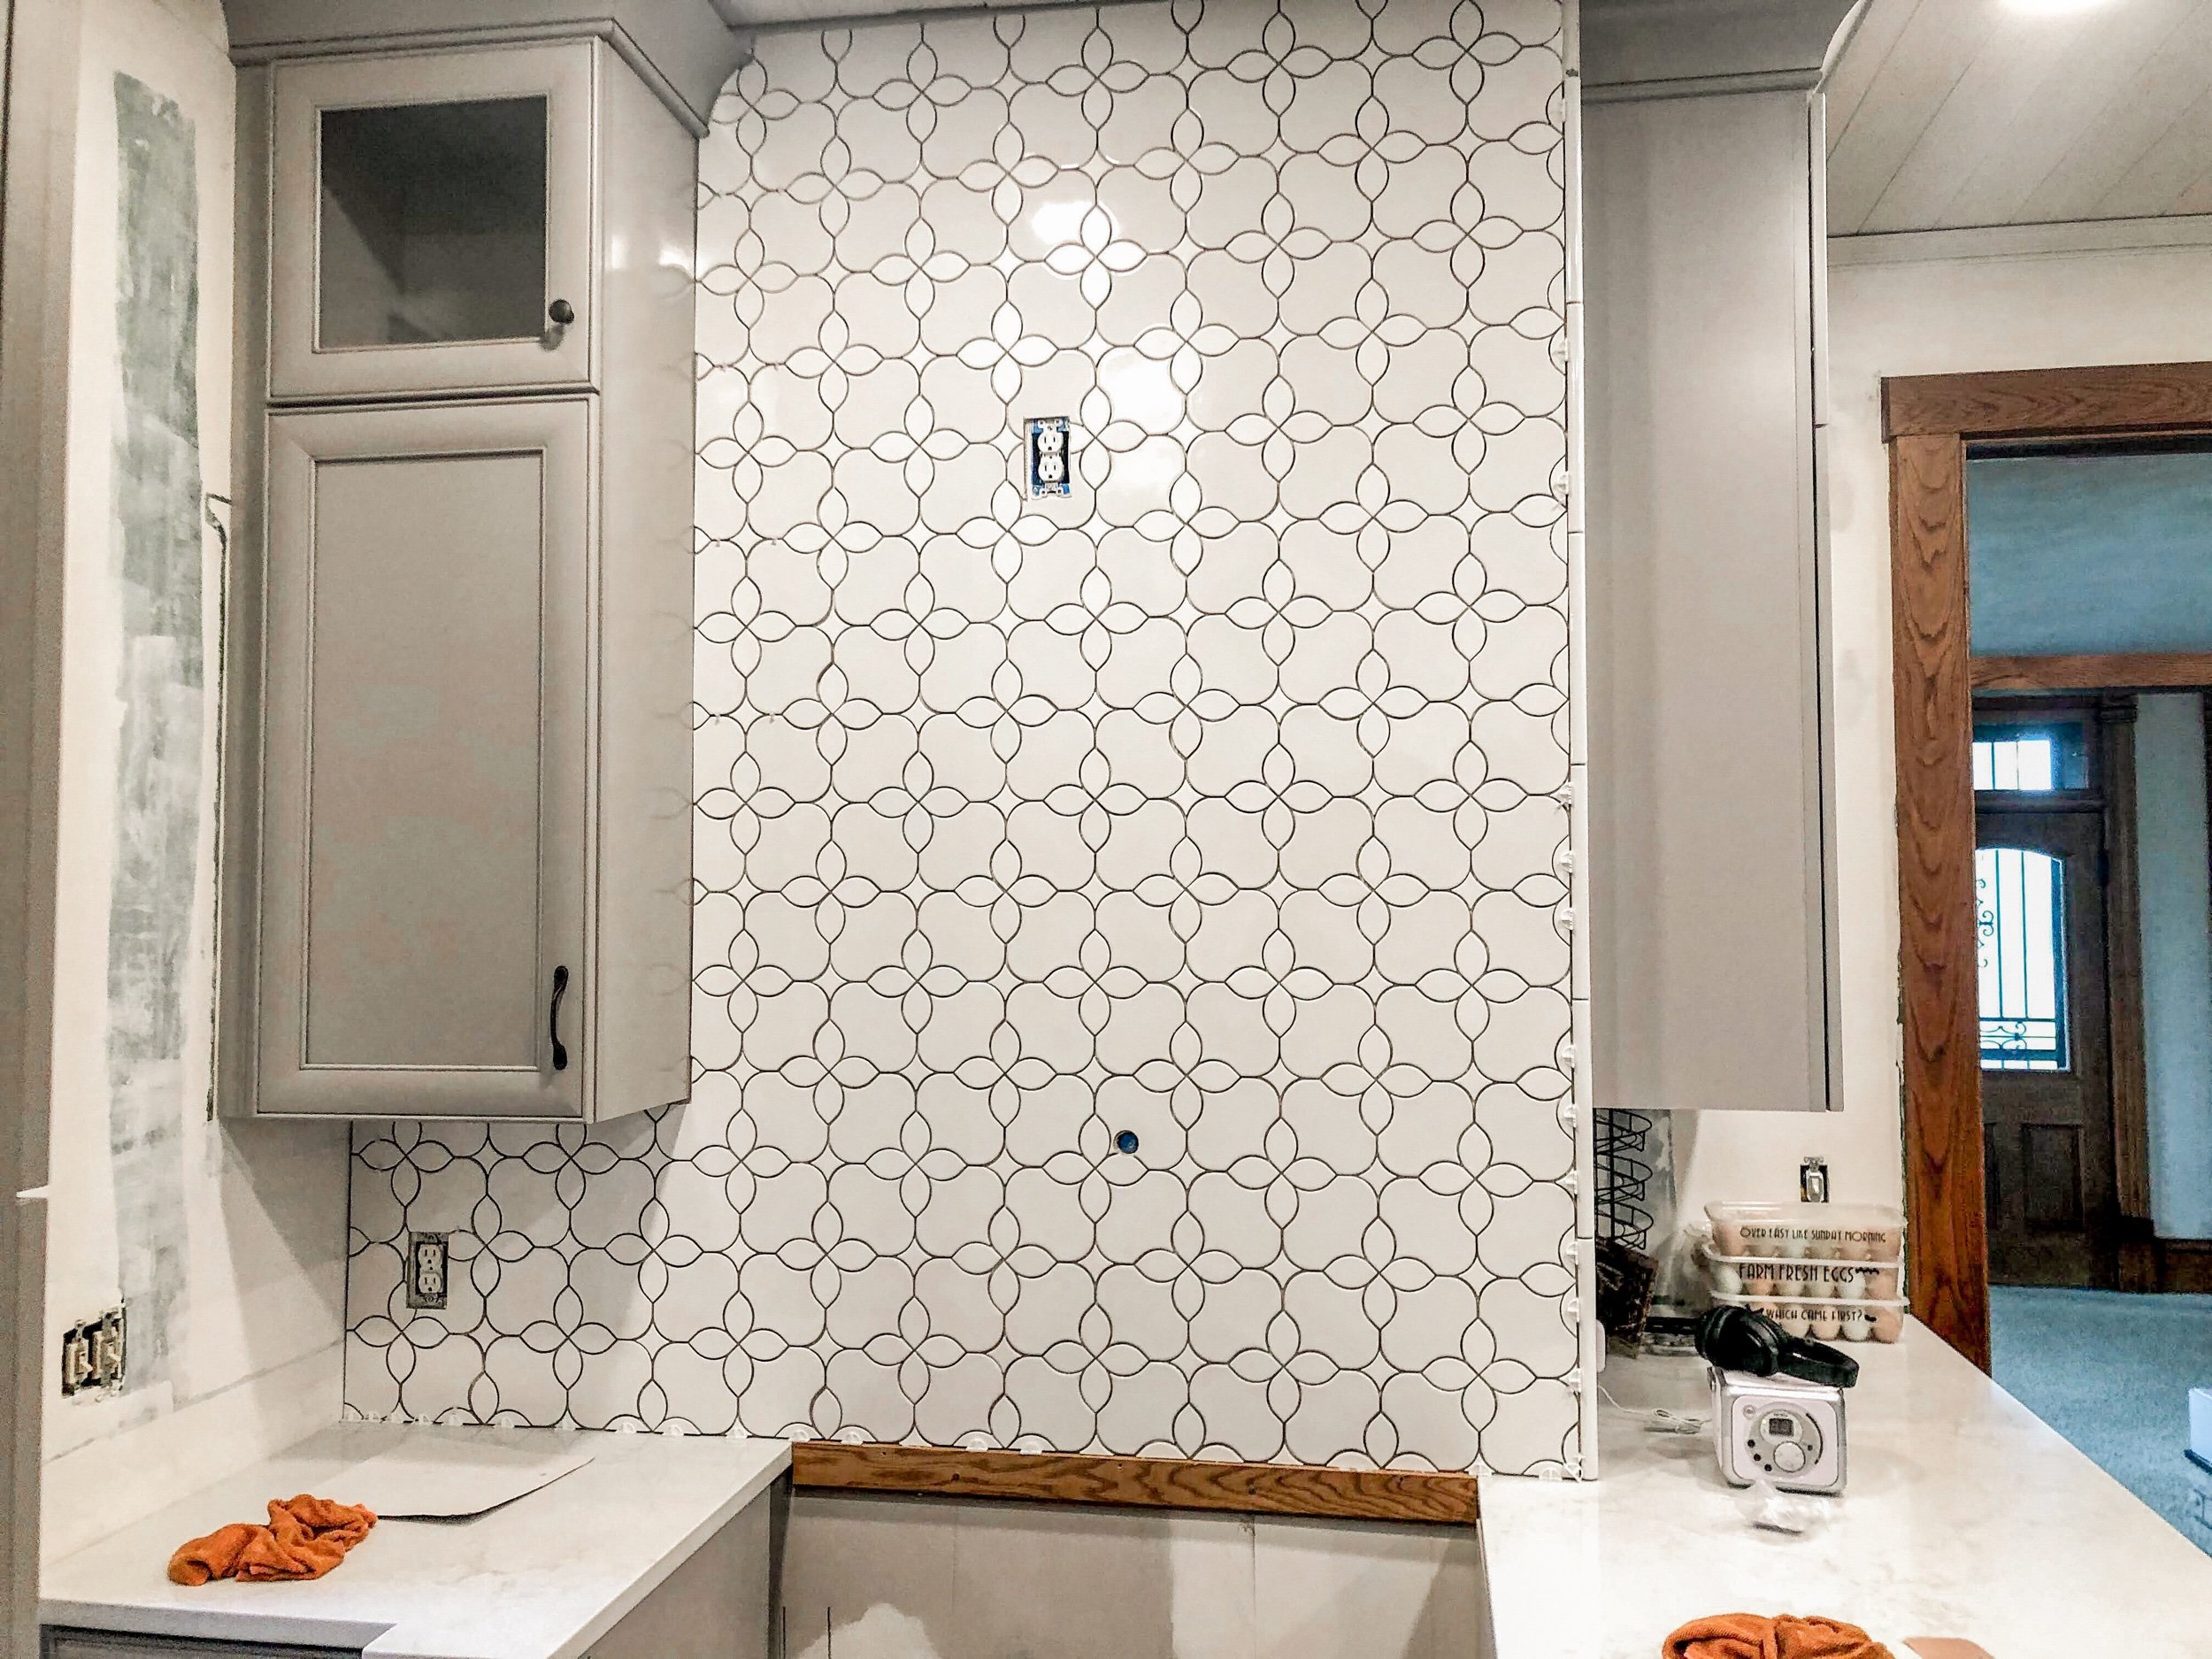
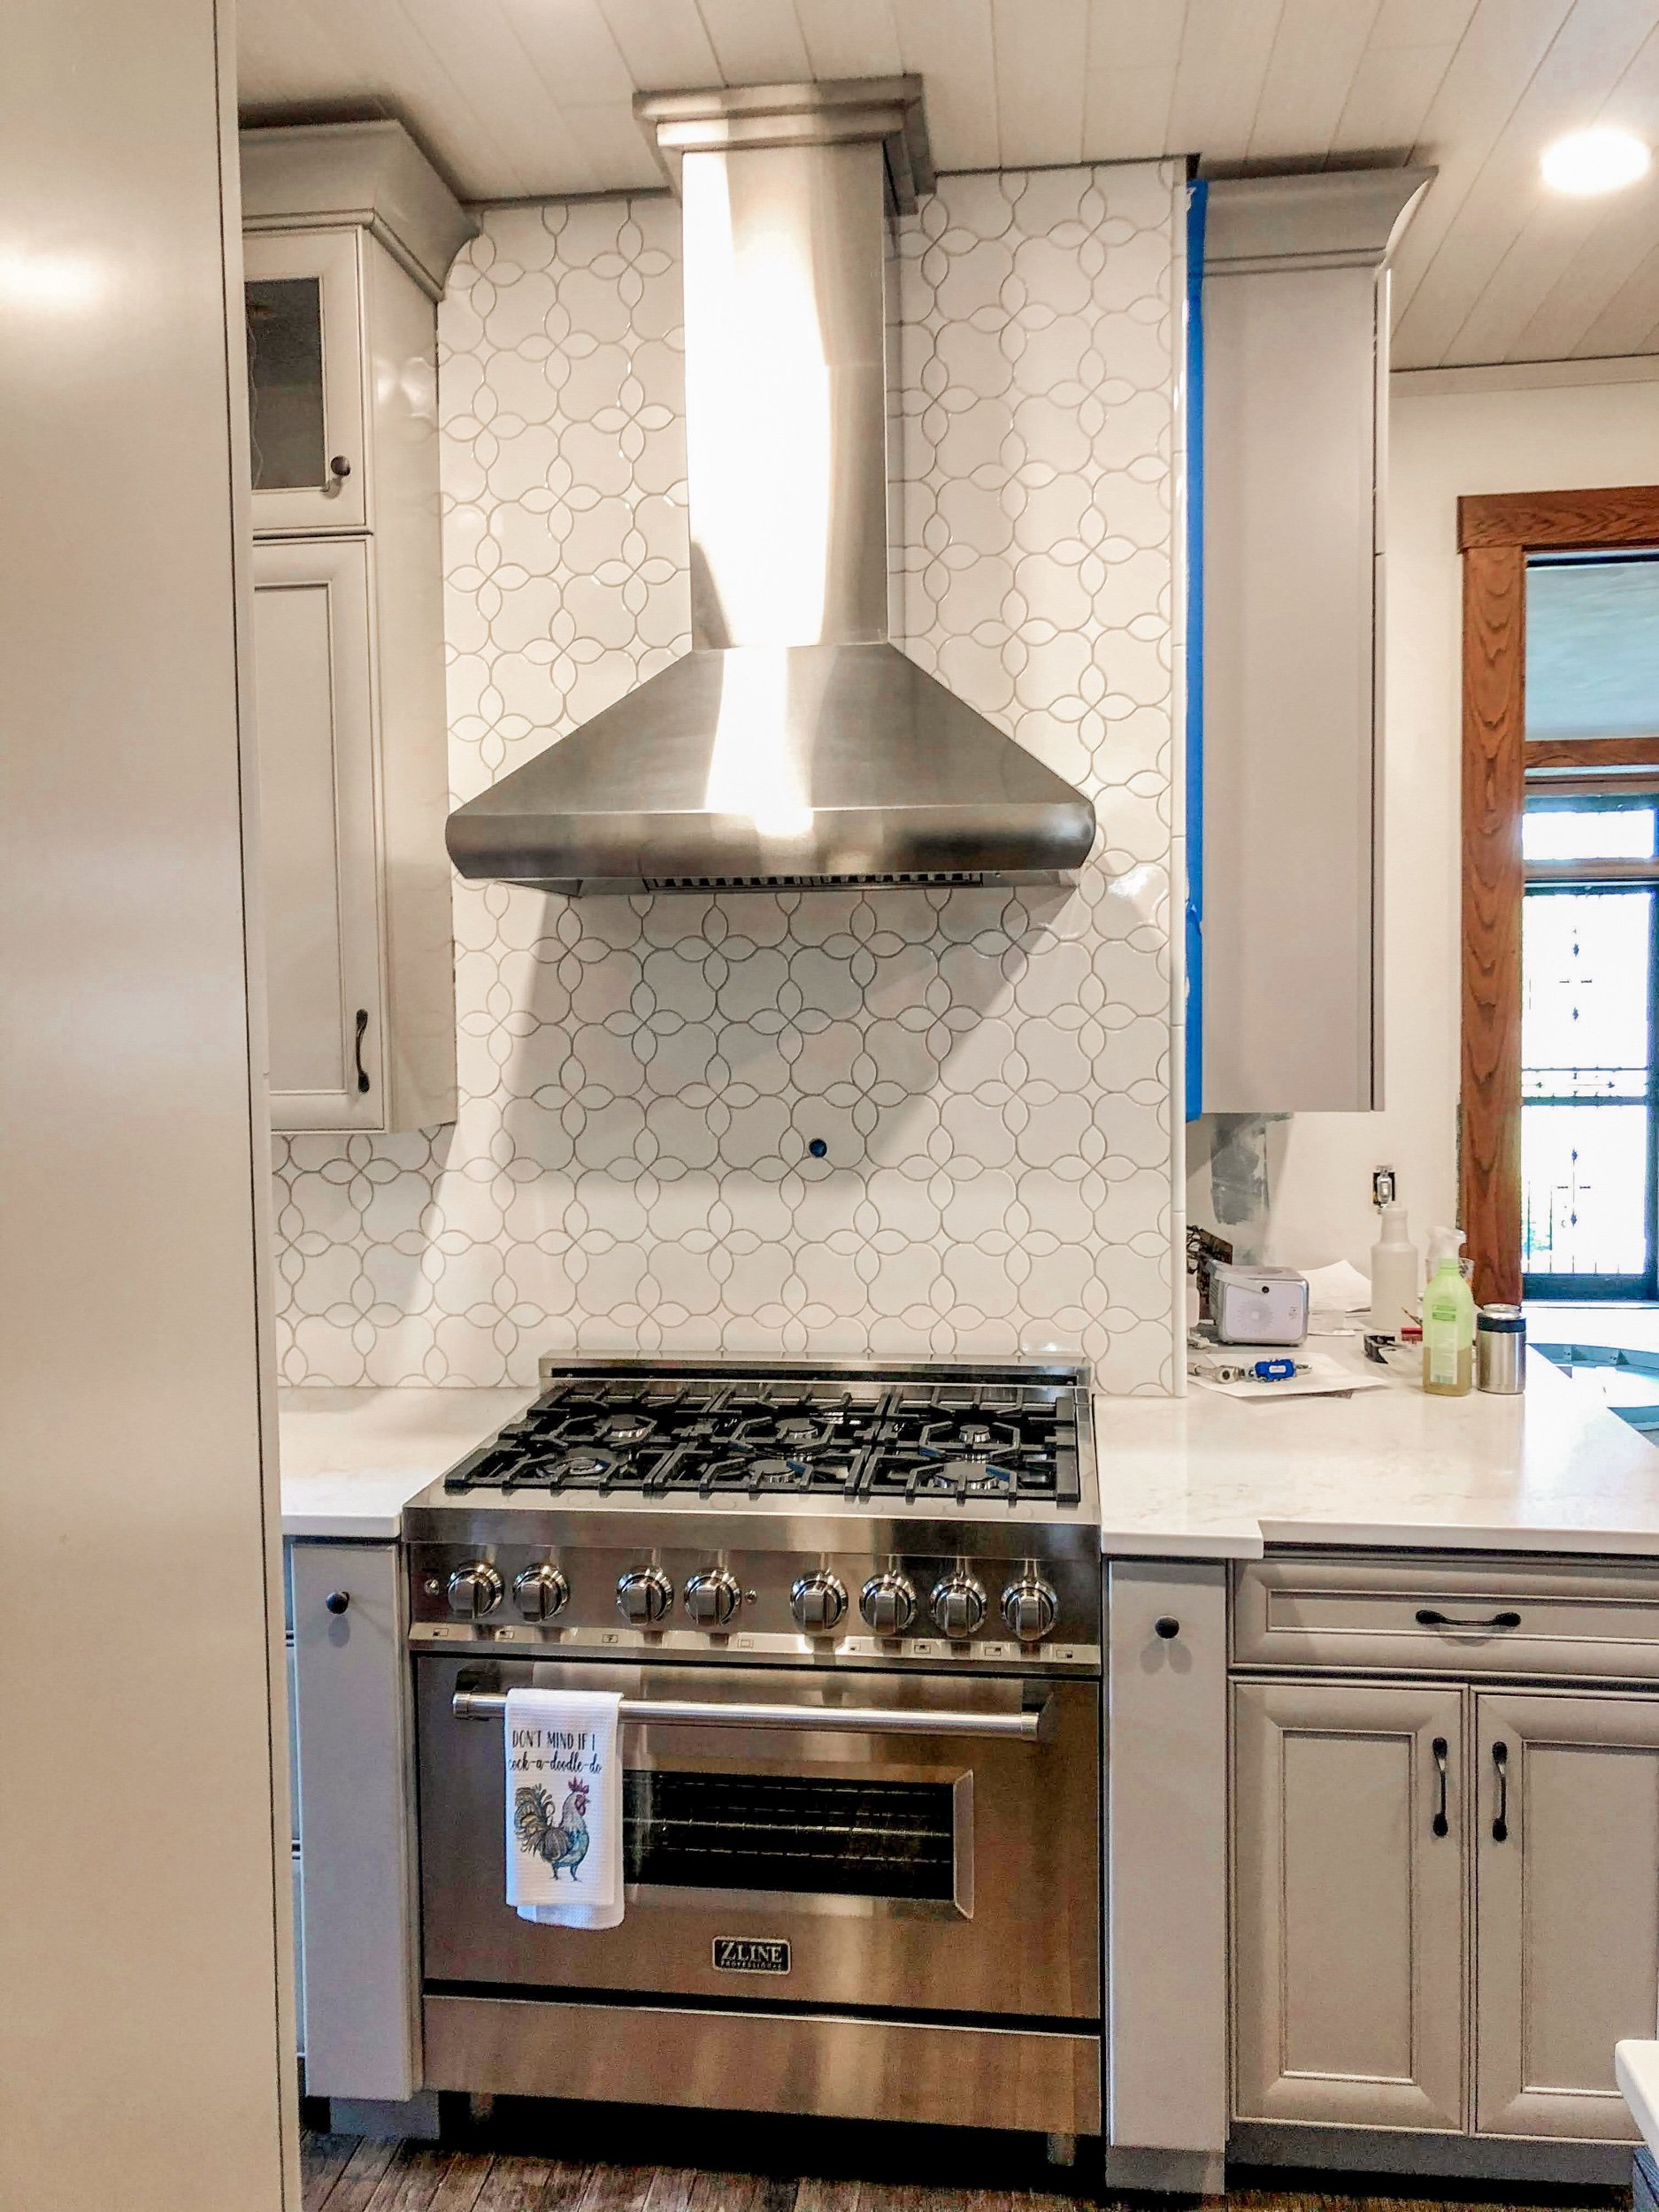
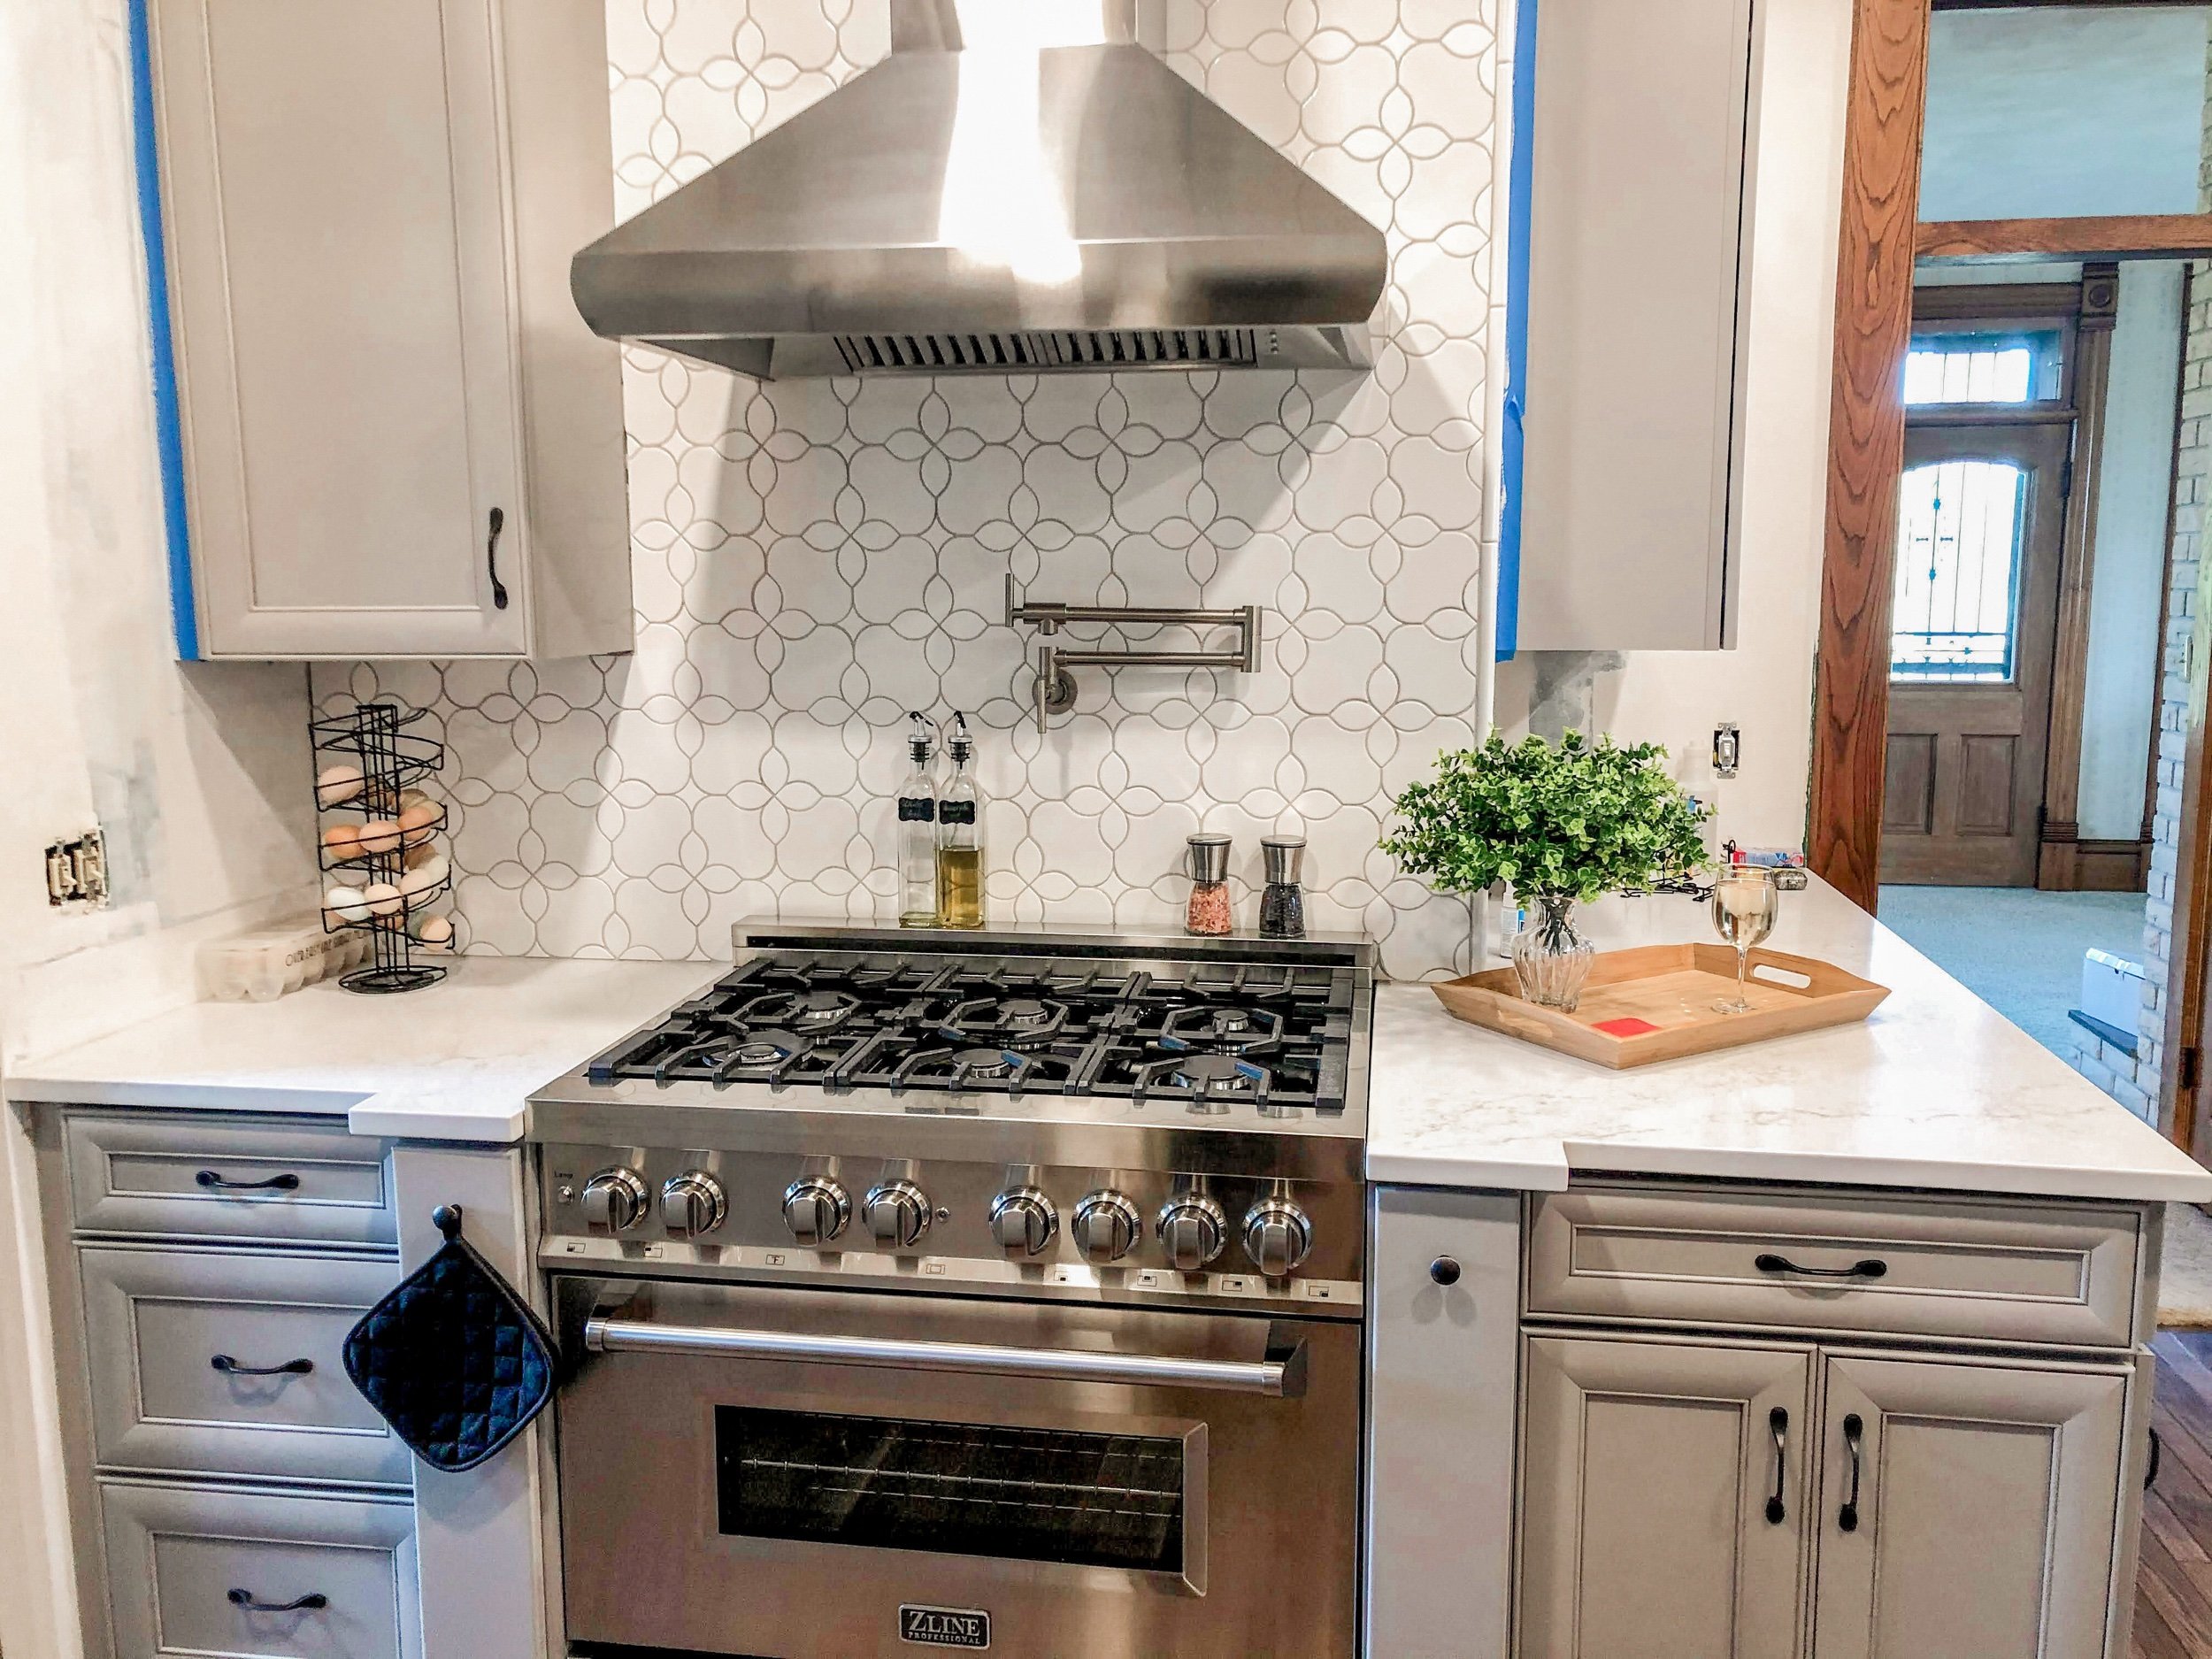
A Statement Stove Backsplash
The challenge was finding the range backsplash tile. My mom had a fun farmhouse tile scene behind her range while I was growing up, and while I knew that wasn’t what I wanted, it gave me the inspiration to shake it up a little.
I looked at SO MUCH Pinterest at this point. I found amazing hand formed tiles, hand painted tiles, and sweet patterned tiles, but I honestly couldn’t imagine living for years with any of them.
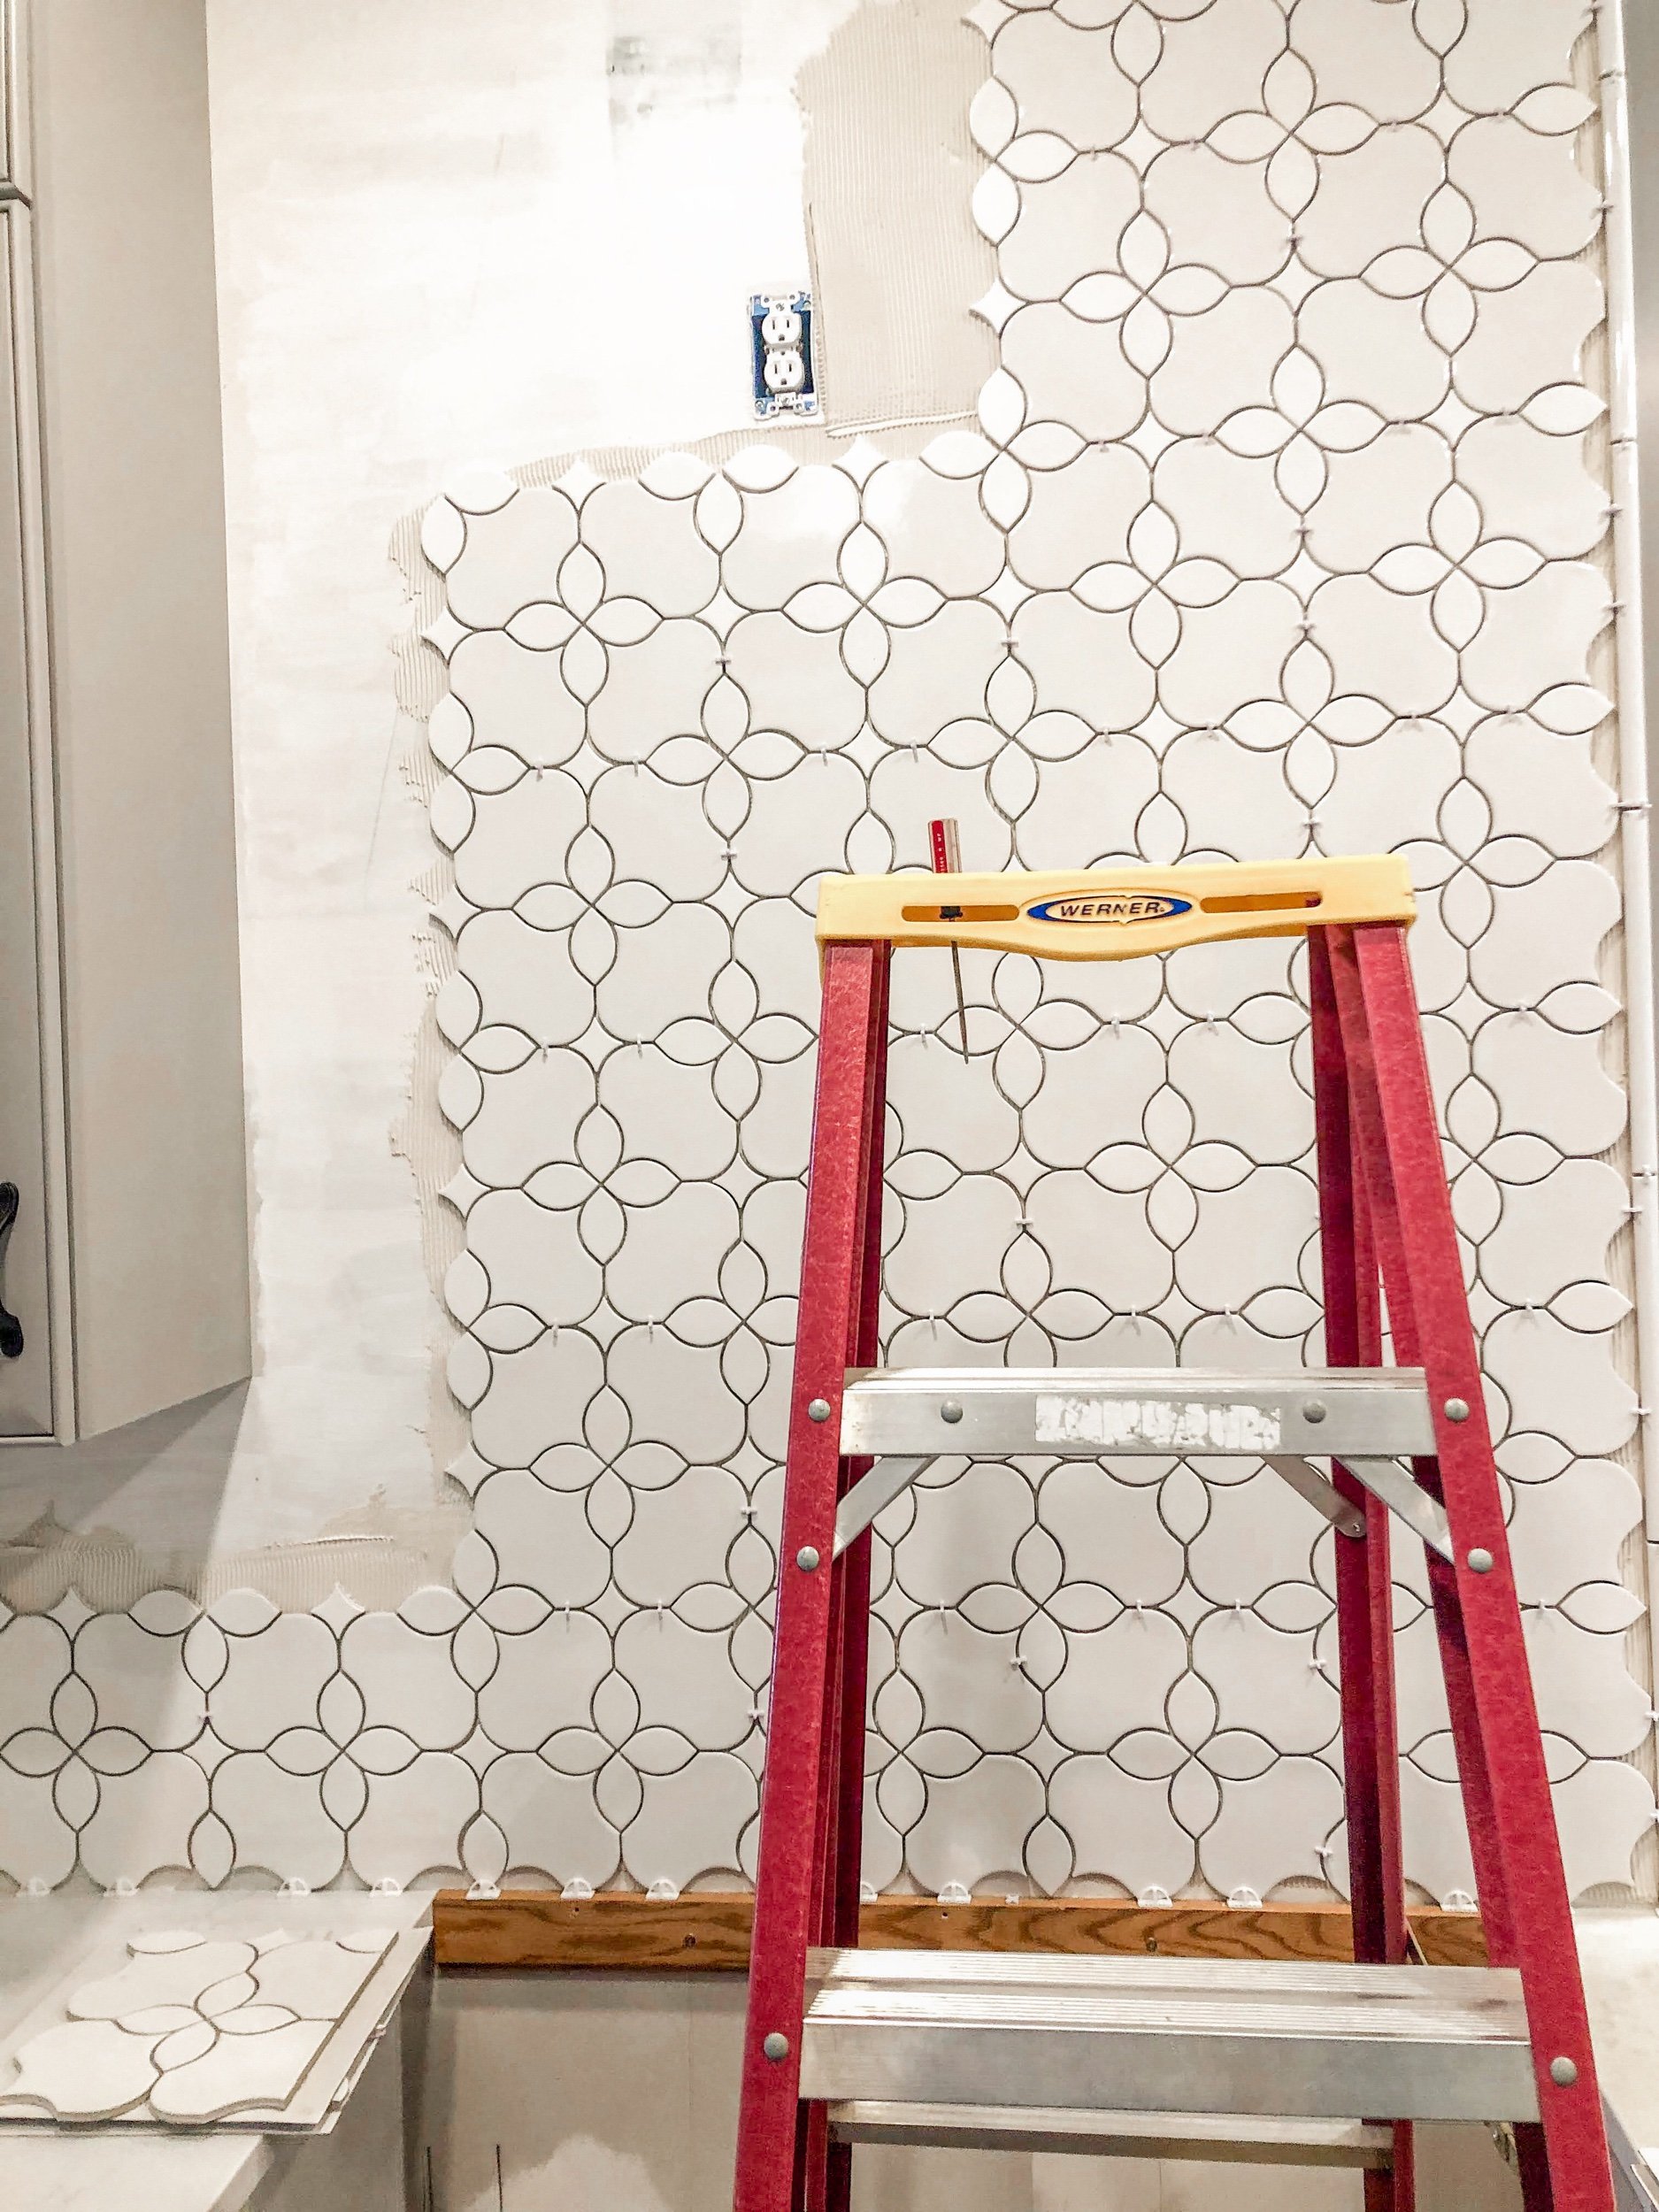
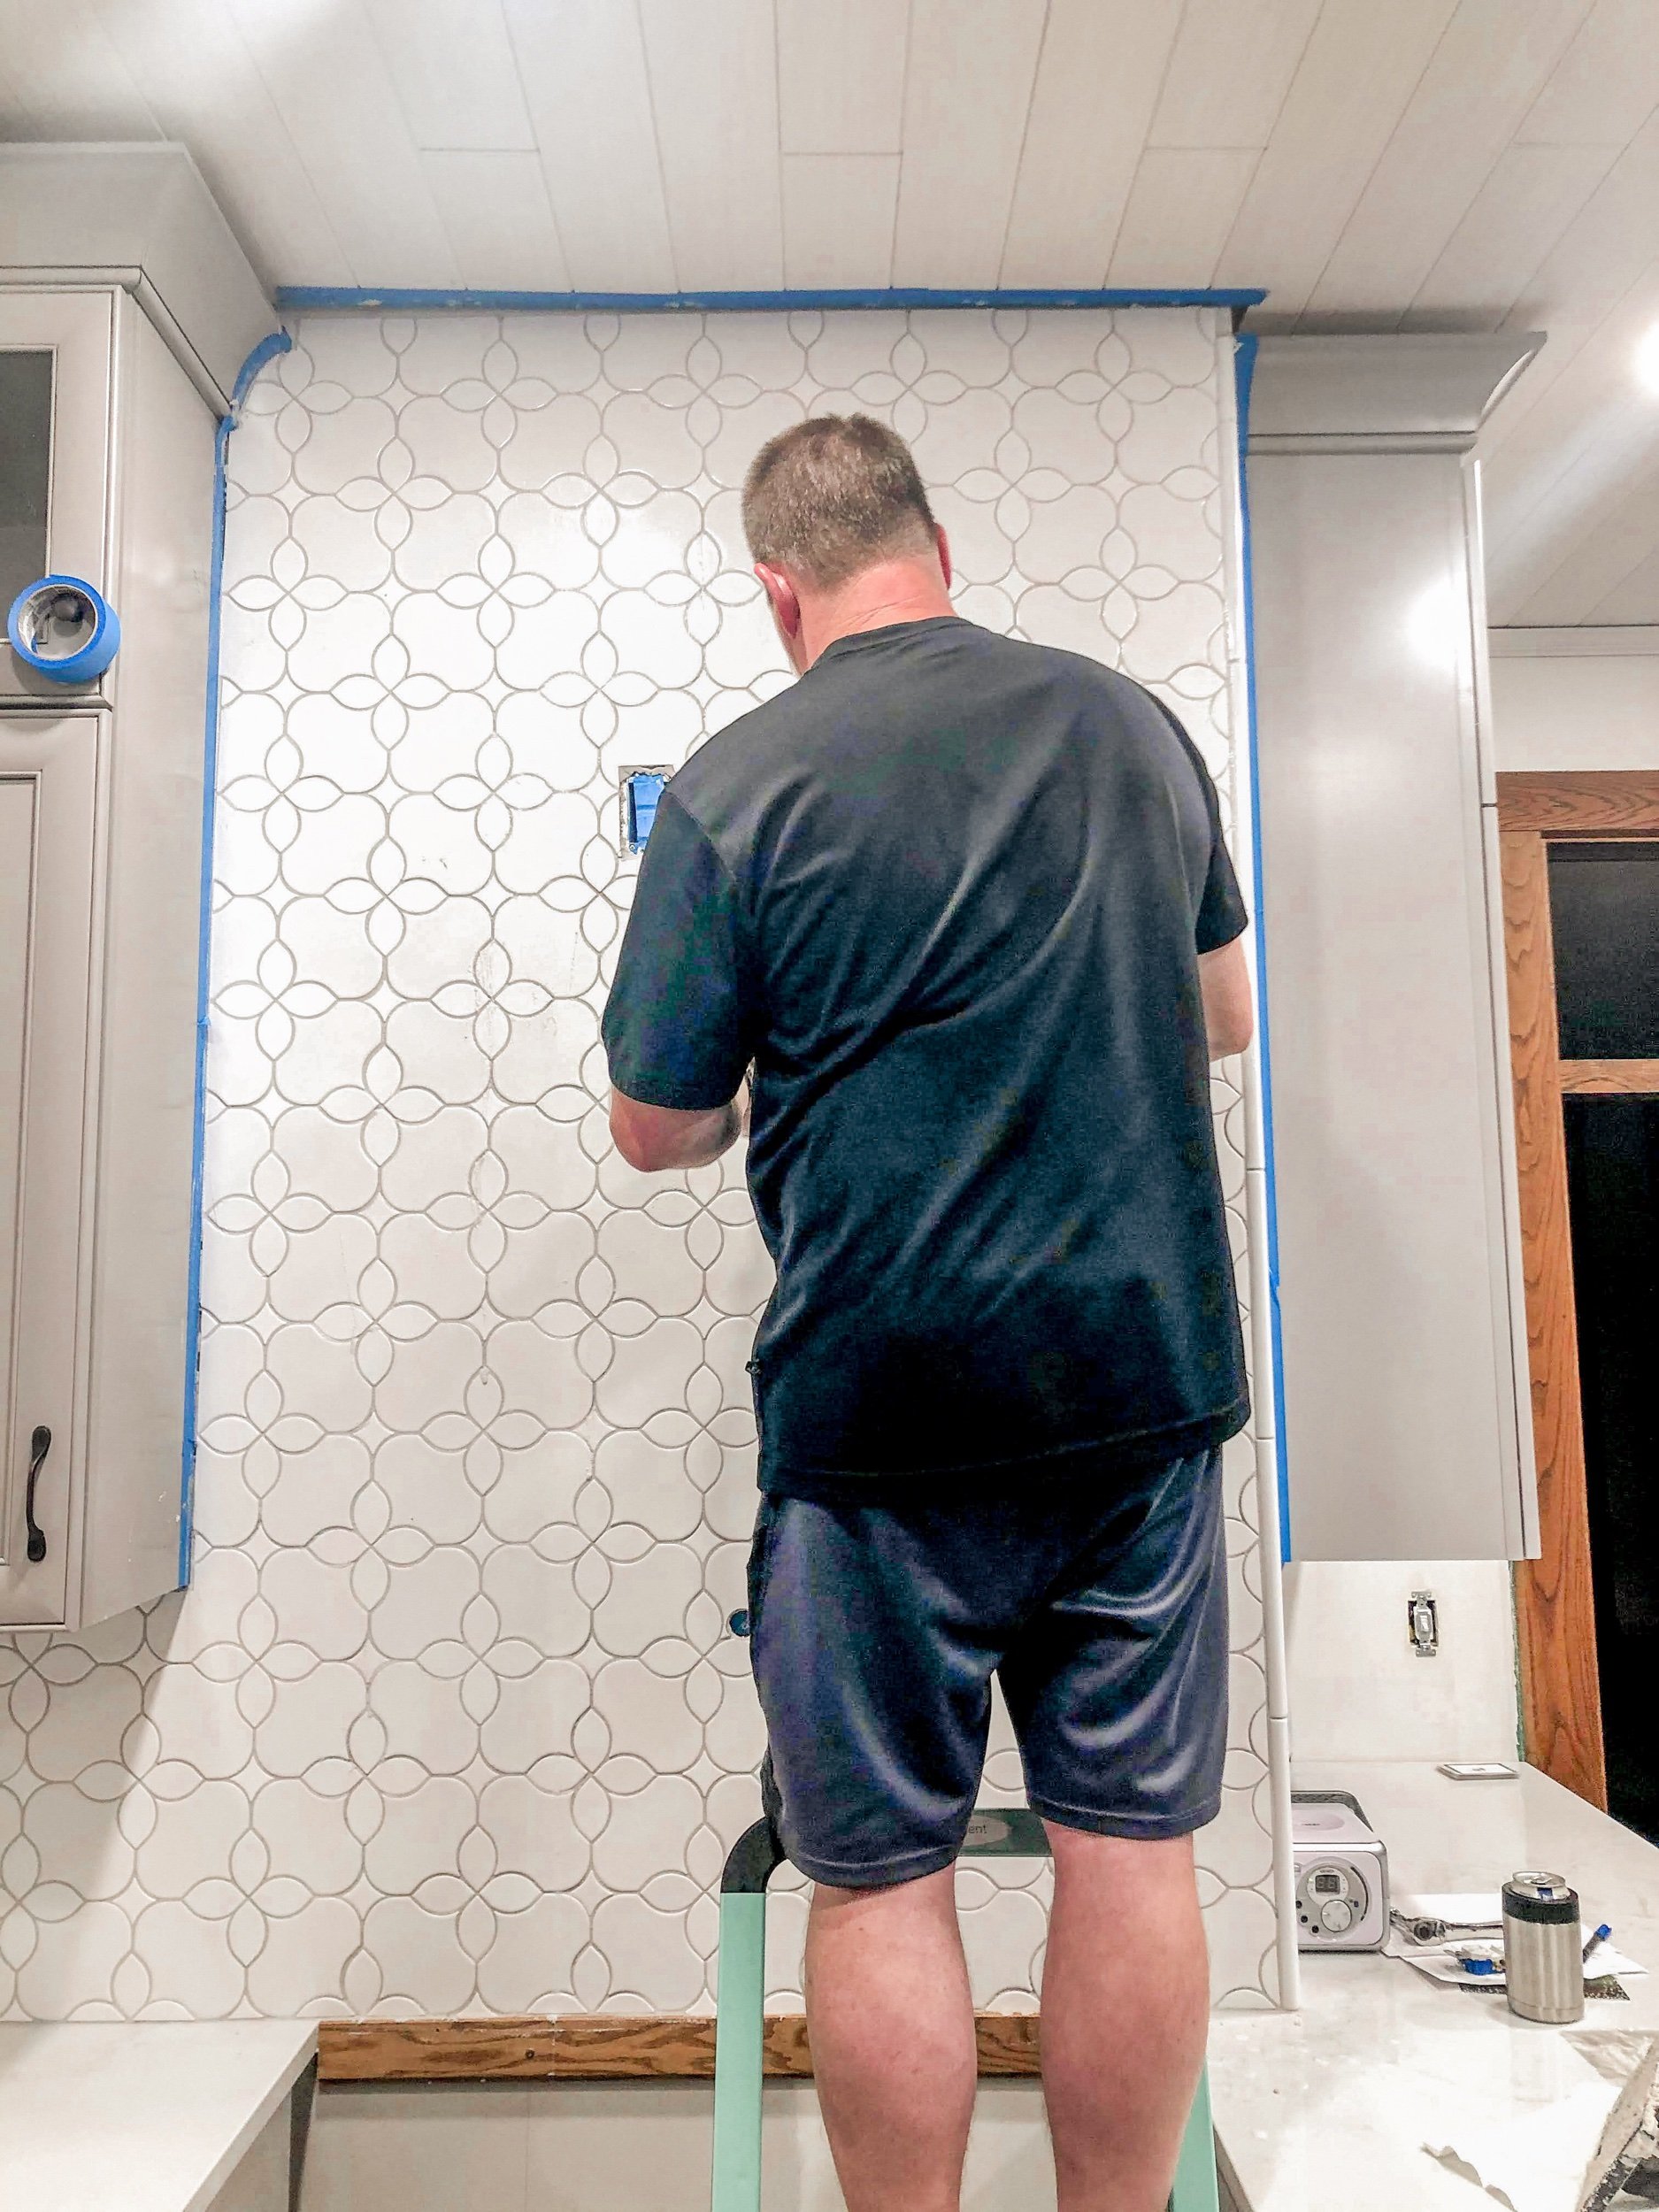
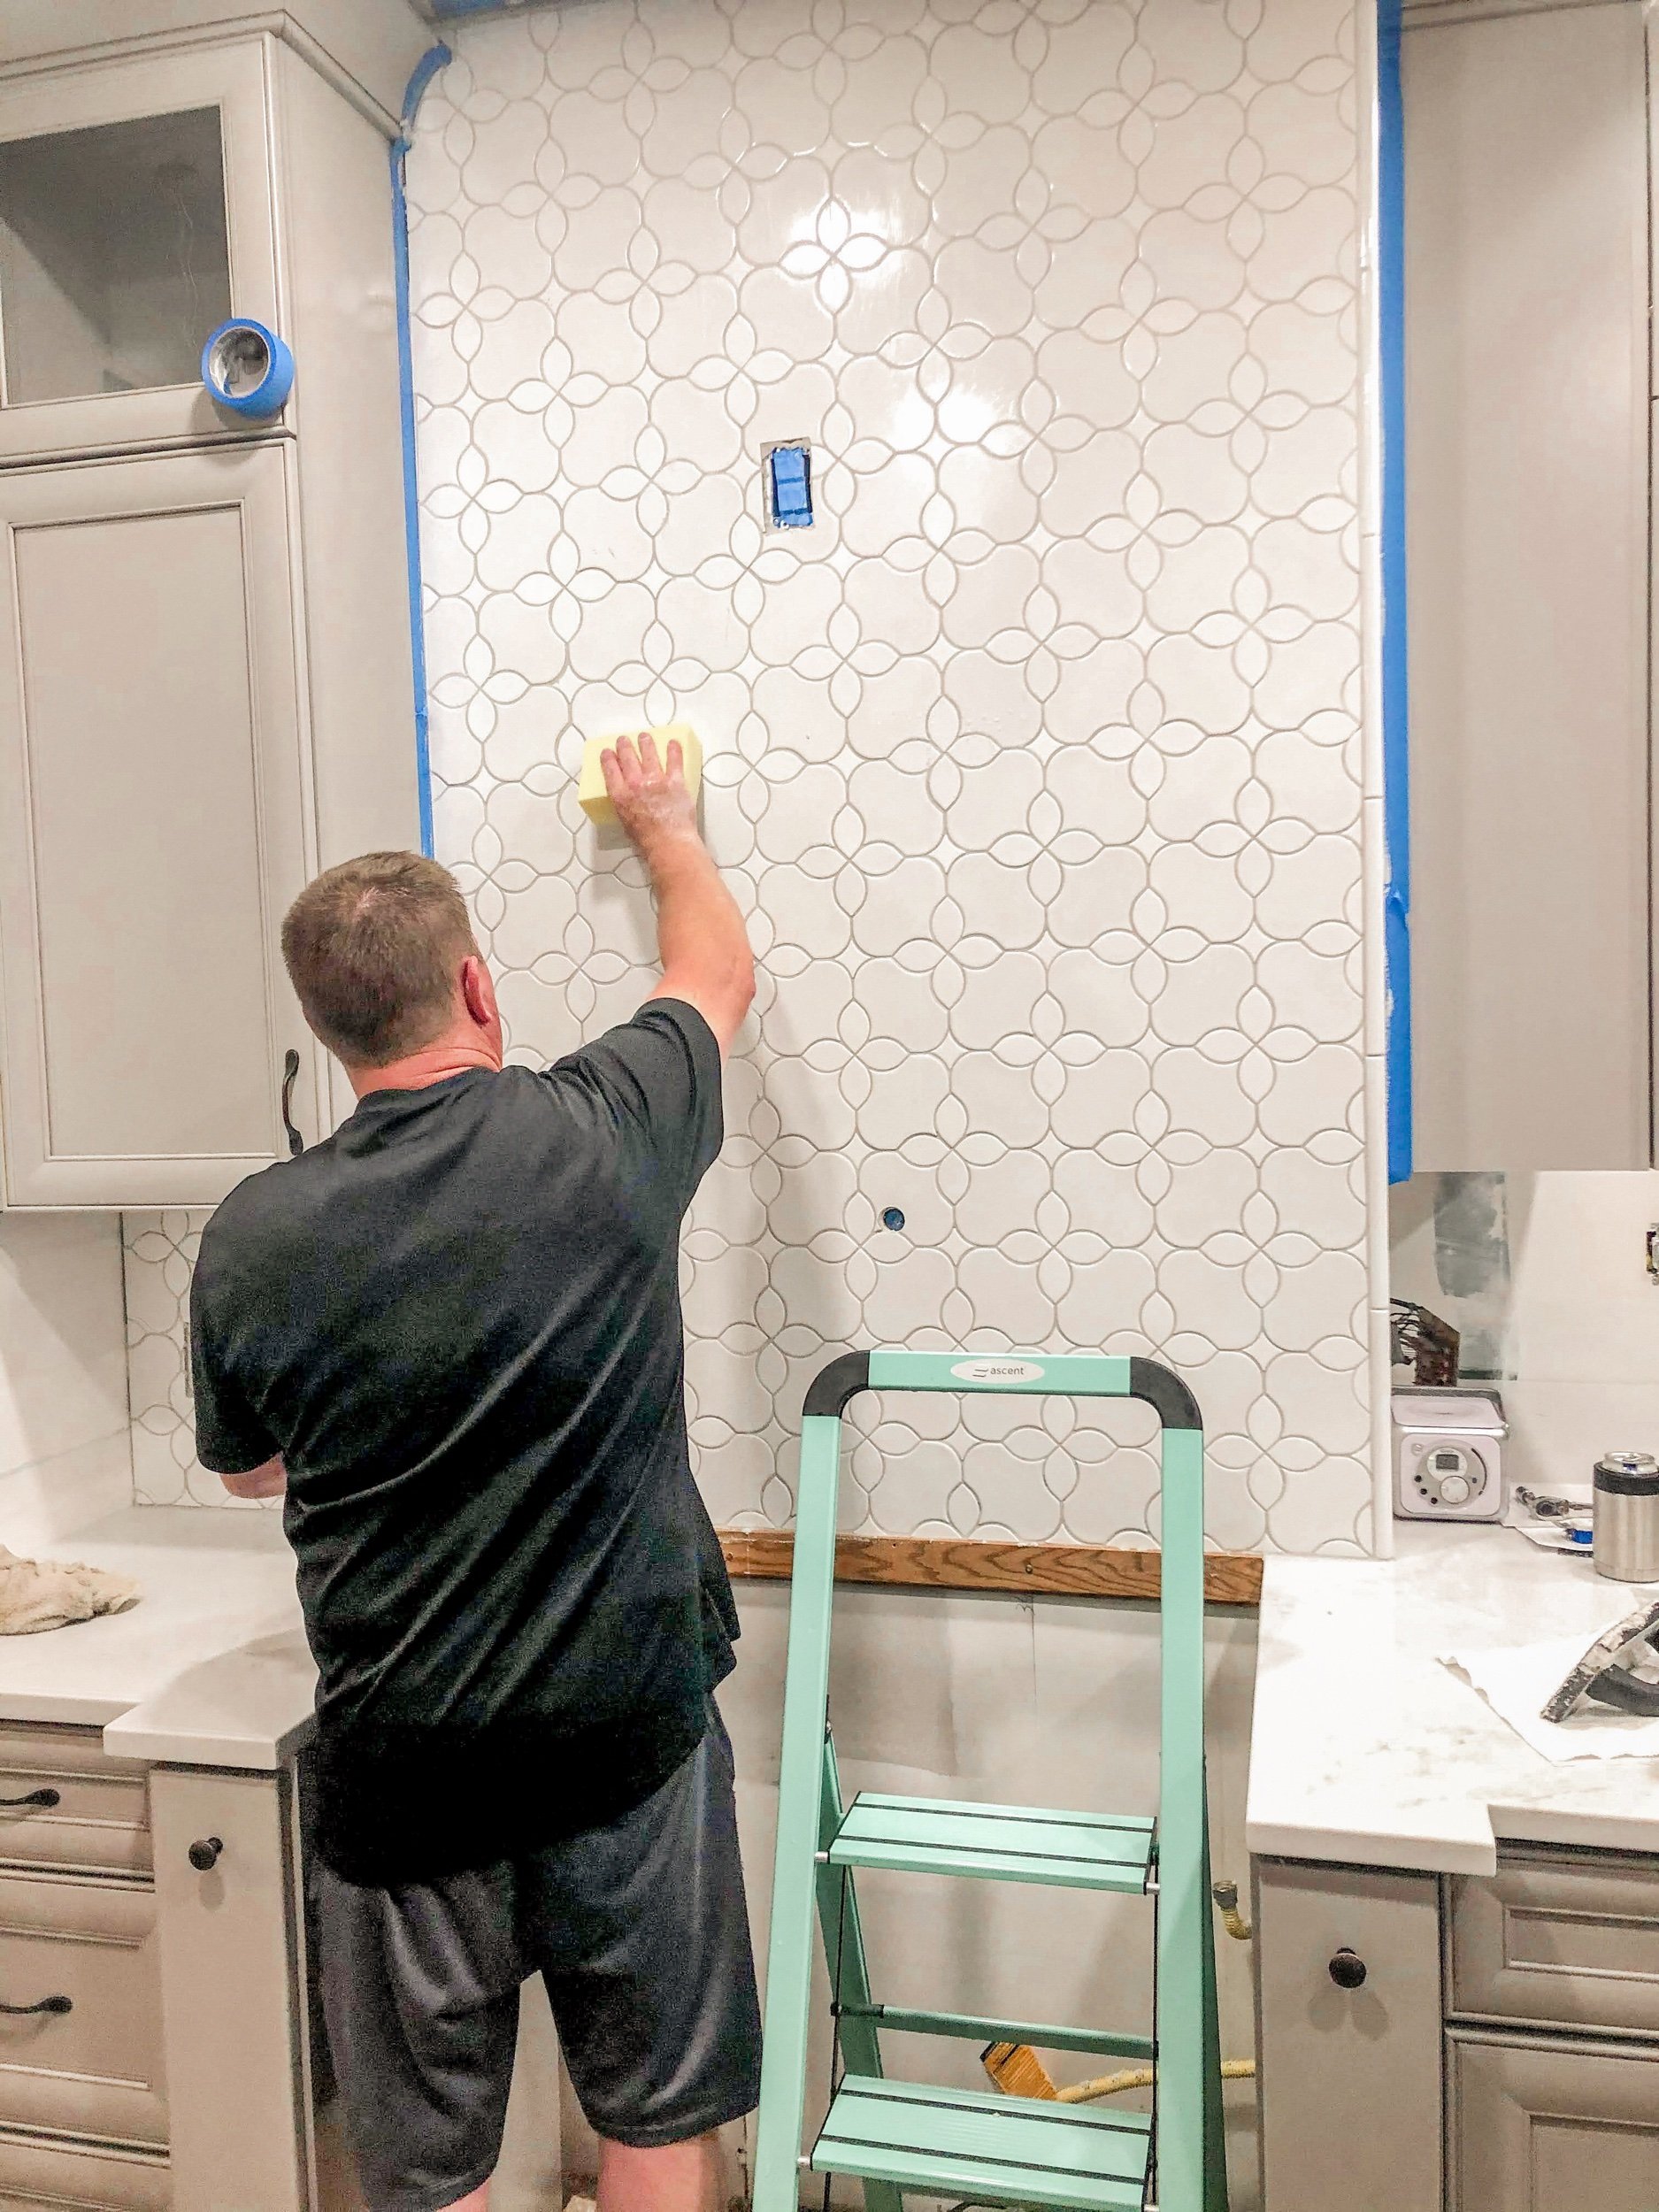
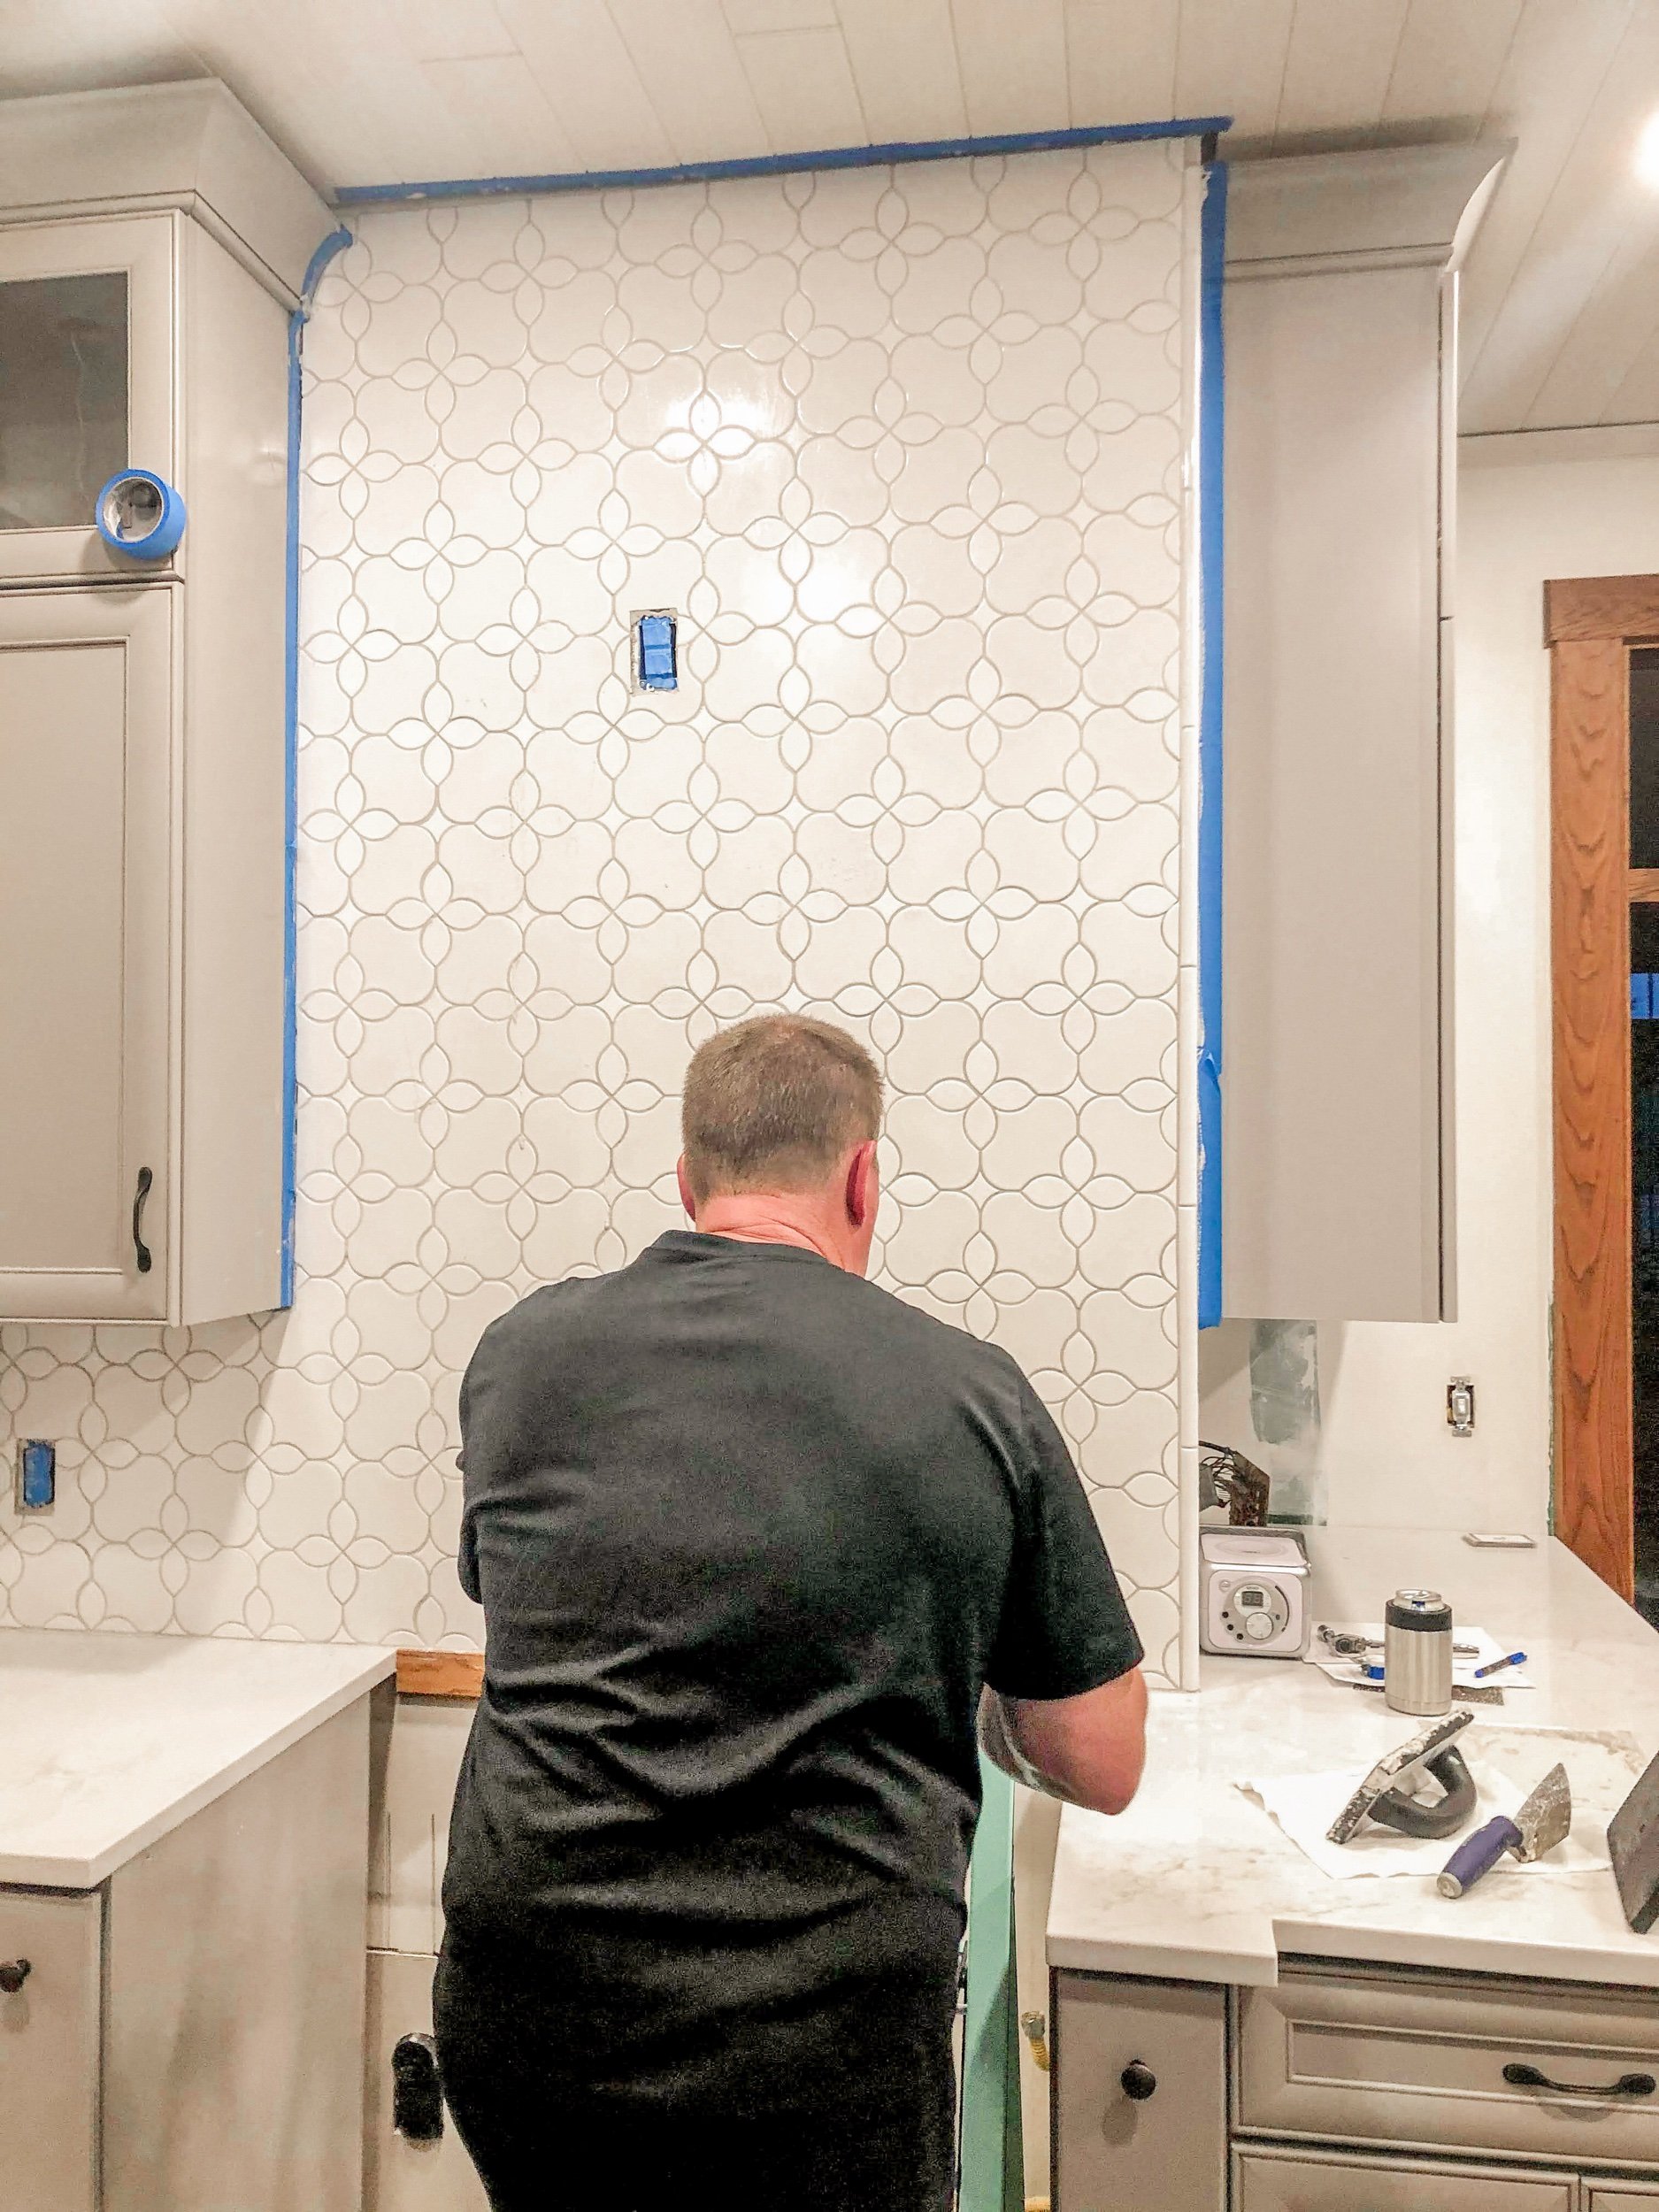
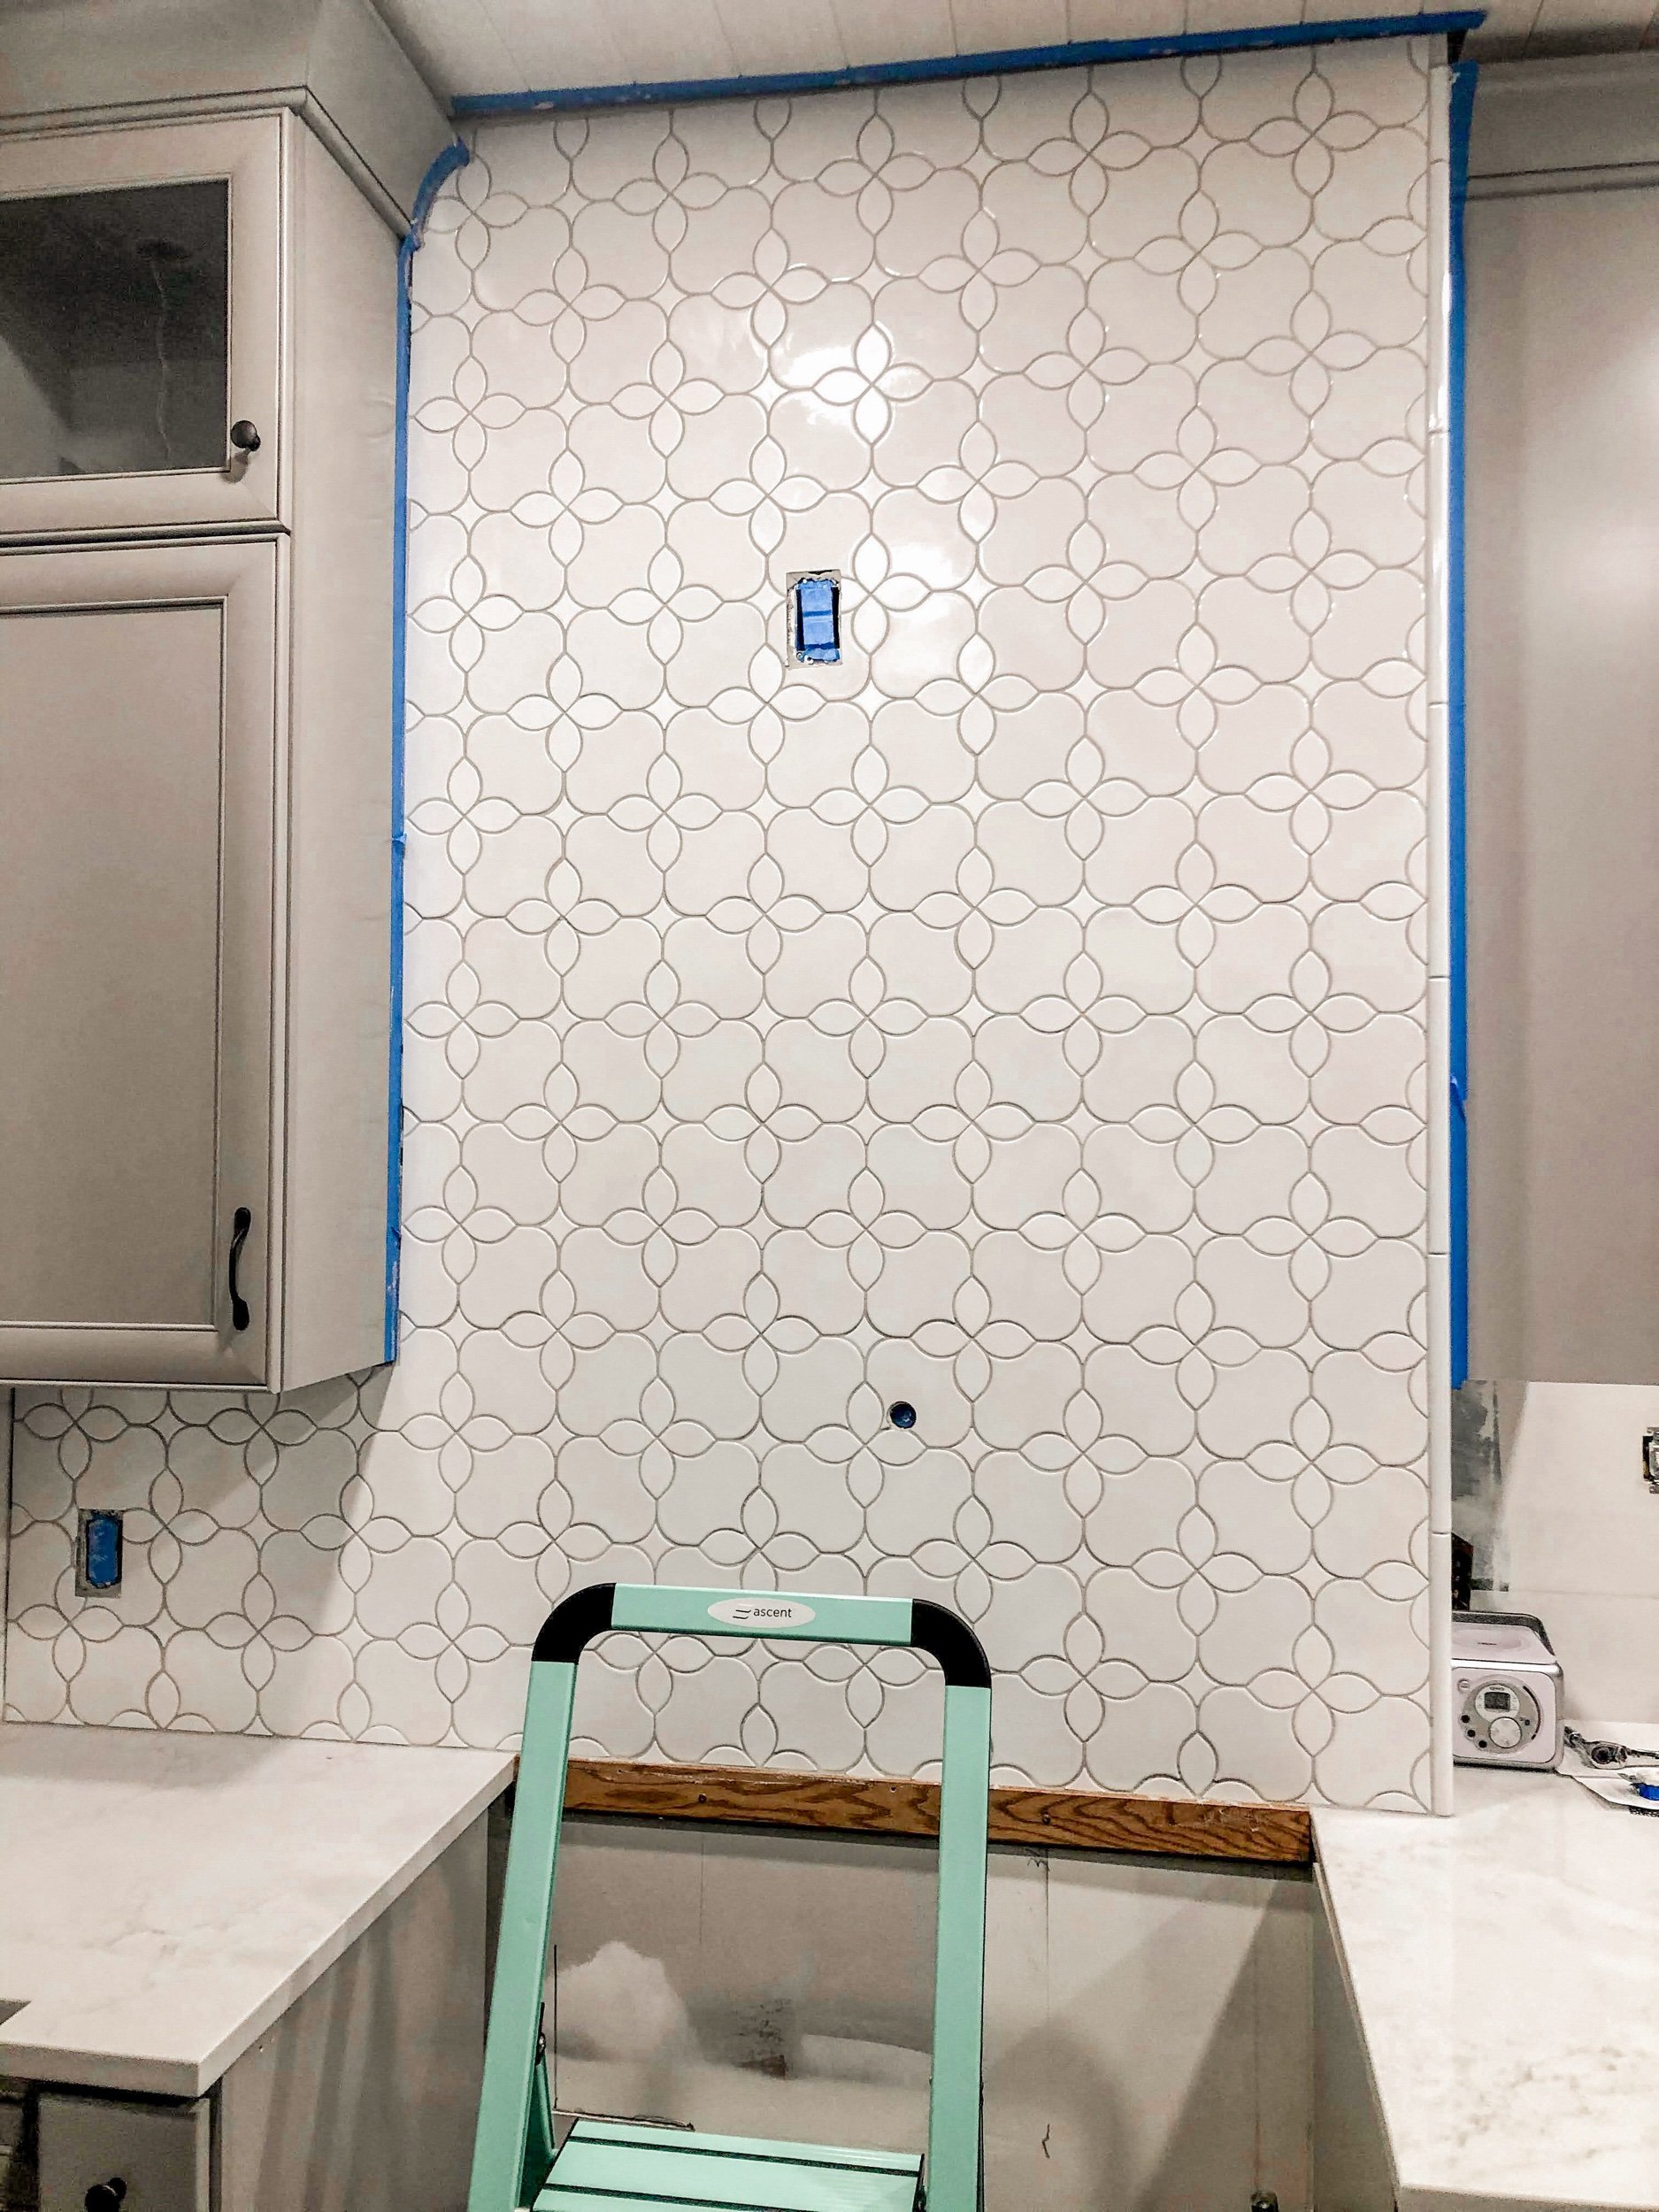
When this mosaic tile from Lowe’s showed up in my feed I knew it was the right one!! I’m not sure how easy it is to see on a computer screen any more (I’ve been looking at it for way too long!) but all pieces of the mosaic are white, but some are glossy and some are matte. And this is what makes the tile amazing! Because of the walls and where the range sits on it, we ended up tiling the entire wall to really make the statement, and I LOVE IT!!
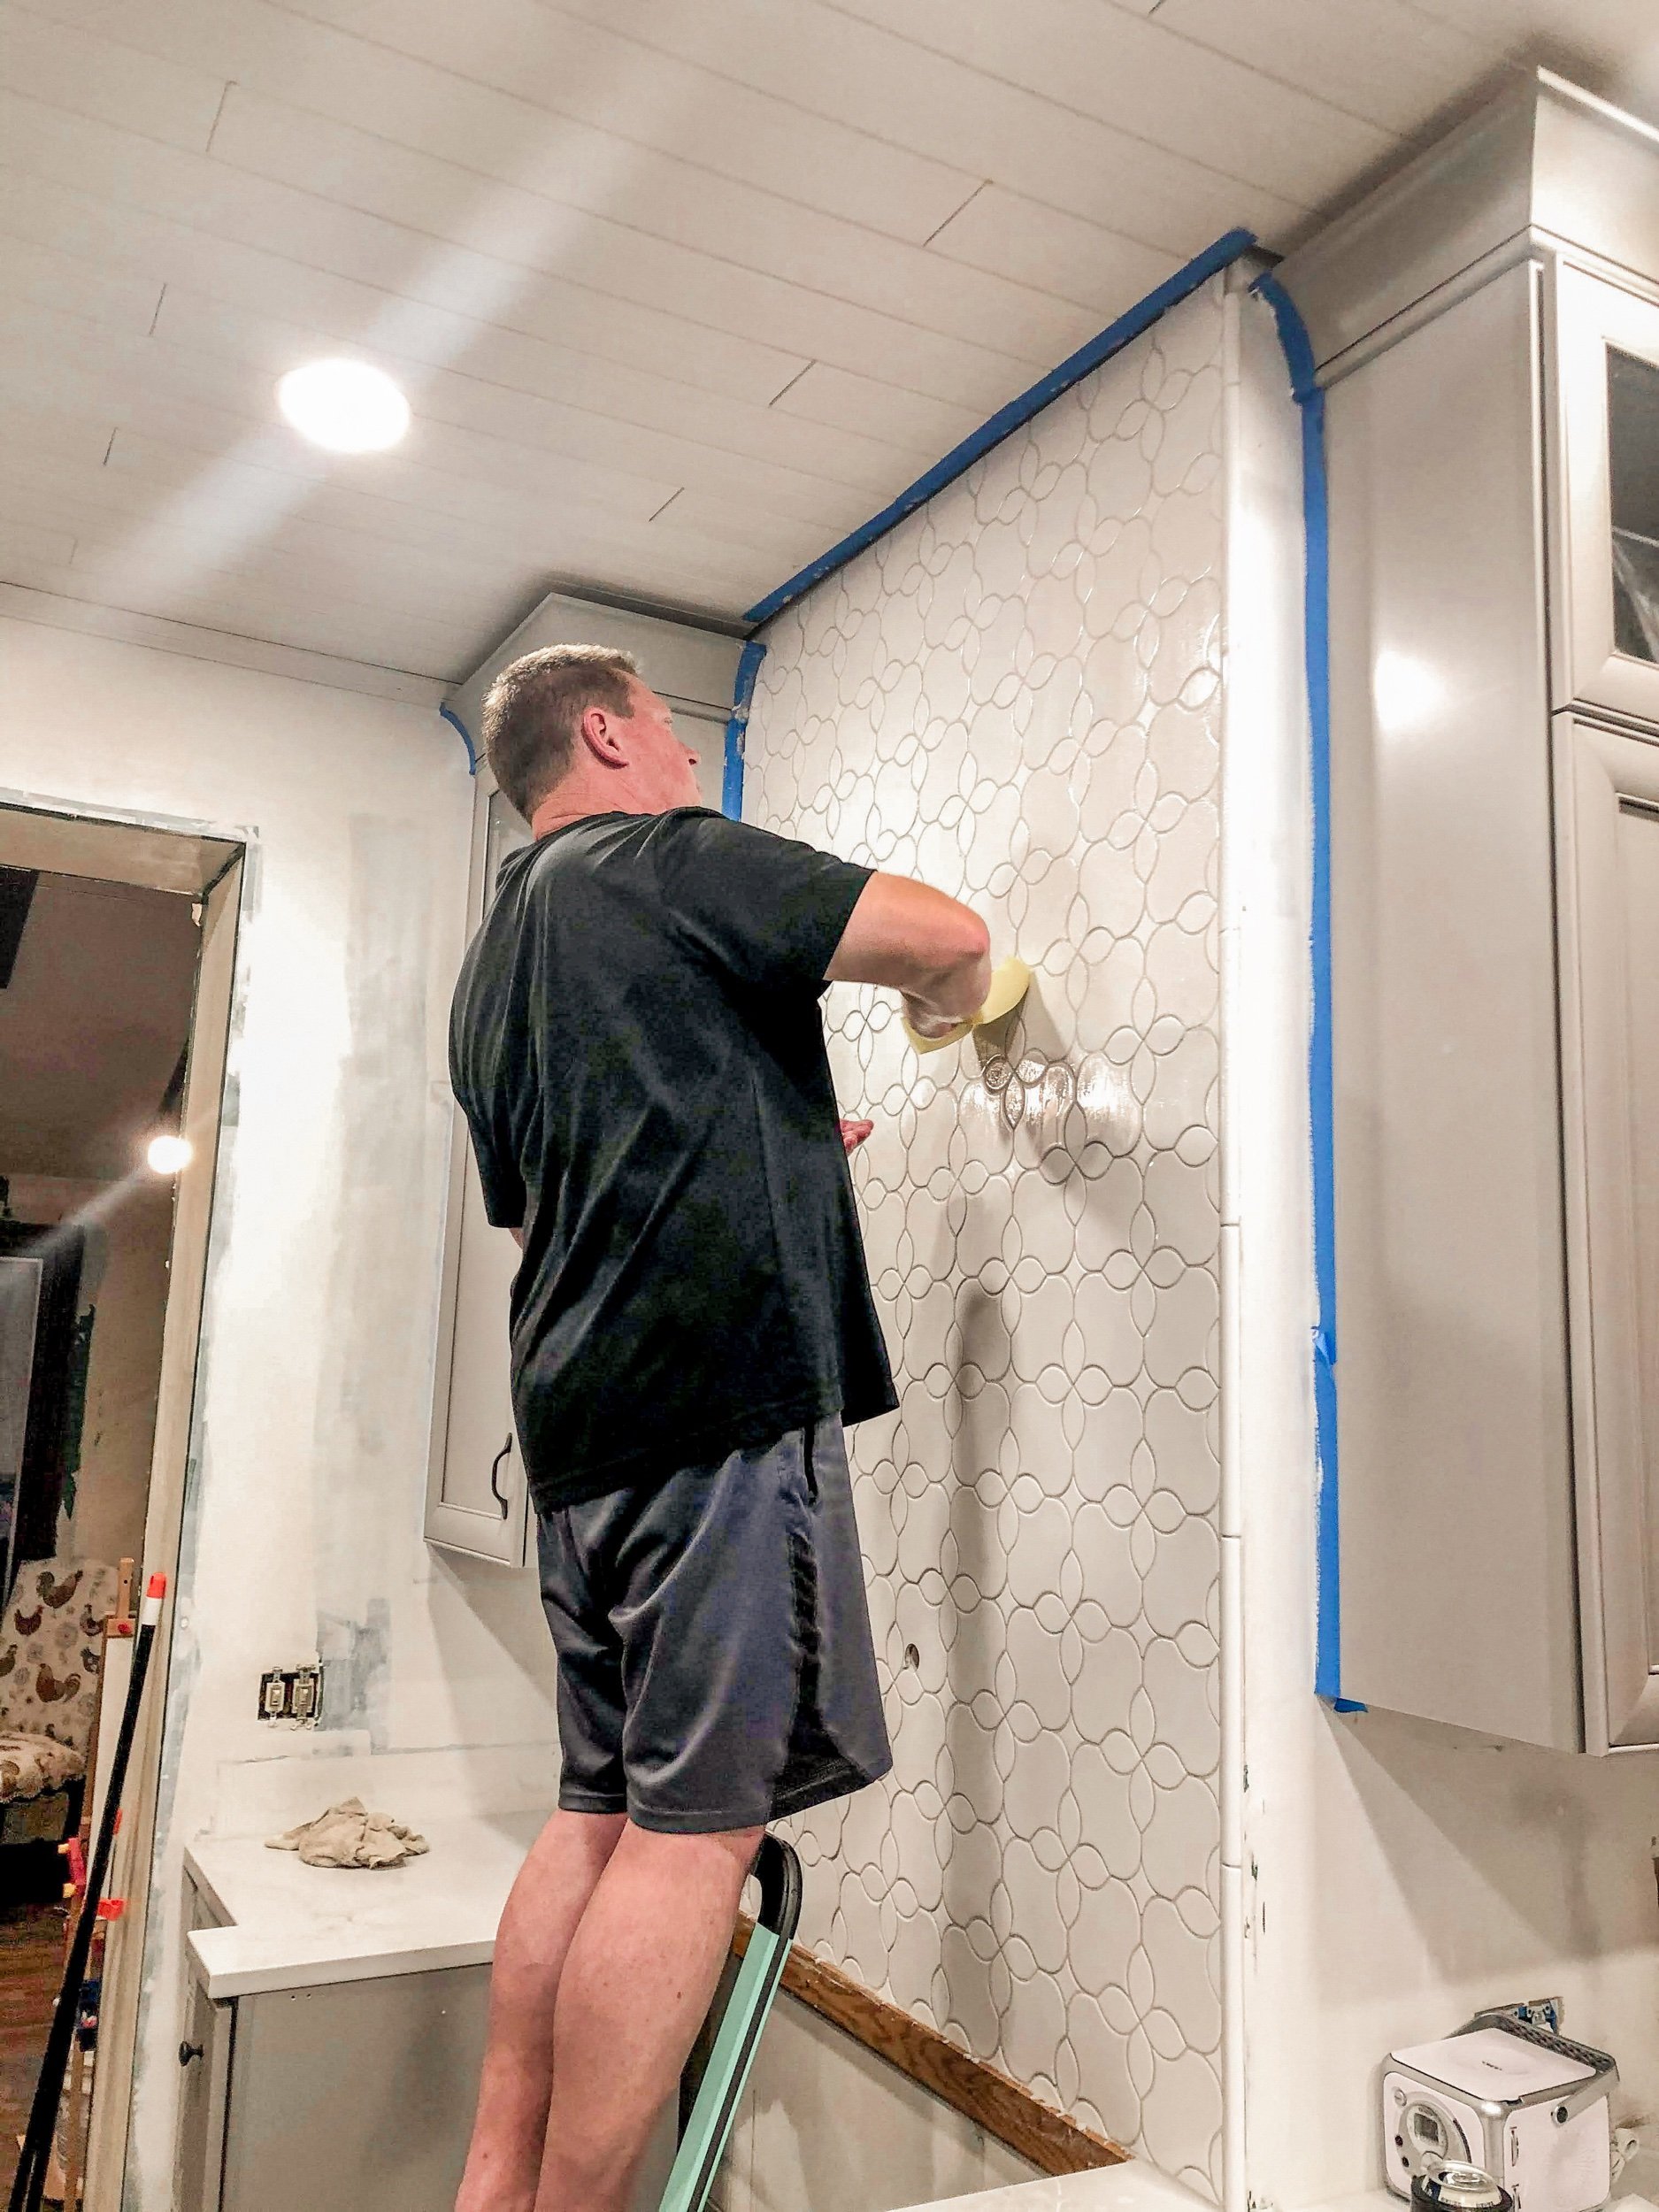
We used MAPEI Flexcolor grout in Warm Gray to make sure that the tile stayed the star of the show. We decided to use the pre-mixed grout for several reasons: 1) no mixing! 2) more consistent color across so many areas/grouting sessions and 3) this sanded grout (supposedly) doesn’t stain!!
Kitchen Durability
In a kitchen that gets used multiple times a day by up to four of us, I really didn’t want to end up with grout stained pink with tomato sauce or dark from grease spatter. I suppose I’ll have to update later whether it lives up to the hype, but I have high hopes from the reviews I’ve seen online!


